
Best Tool to Organize your Media Assets & Boost Productivity Eagle App Review
Whether you’re a solopreneur, or a small business, it’s important to keep your digital library organized and accessible.
When you have an organized media library, it’s easy to find the file you need, when you need it.
And Eagle is the best app for doing that.
Who is Eagle App for?
At first glance, it may seem that Eagle is only for designers.
Not at all.
It’s true that the Eagle Library supports many “designer oriented” assets, like:
- Image formats: (bmp, dds, eps, eps, exr, gif, hdr, heic, icns, ico, jpeg, jpg, png, svg, tga, tif, tiff, ttf, webp, base64)
- And some proprietary formats like afdesign (Affinity Designer), afphoto (Affinity Photos), afpub (Affinity Publisher), ai (Illustrator), c4d (Cinema 4D), cdr (CorelDRAW), dwg (AutoCad), psb (Photoshop Large Document), psd (Photoshop), pxd (Pixelmator Pro), Principle, sketch, skt, skp (SketchUp), xd (Adobe Xd)…
But it will also allow you to organize other kind of media.
- Mindmaps you create with MindNode, MindMaister, or Xmind,
- Diagrams created with Edraw Max, or OmniGraffle,
- Audio files (aac, flac, m4a, mp3, ogg, wav) that you can use on your video creation,
- Video formats (m4v, mp4, and webm) that you want to watch either as an inspiration or as a learning source,
- Font formats (ttf, otf) for your documents,
- YouTube or Vimeo Videos you want to watch later
- Or even Office Documents (Numbers, Pages, Keynote, Excel, Word, Powerpoint…) so you can get them or use them as templates.
You could even use it for personal purposes!
You can’t just use Eagle for collect and organize “logos you like”, but images of workspaces, ideas you want to try, travel places…
Eagle can be your own Pinterest.
Eagle App pricing and availability
You can useEagle Appon macOS and Windows, sadly, there are no iPhone or iPad version.
You can try the app and all the features for 30-day for free, once you become in love with the app, you can buy a license for just $29.95.
One-time payment, no subscriptions.
Eagle App stores your content in a library, and that’s good
Once the application is installed, you will have to set it up before you can start working with it.
The first and main step is creating a library.
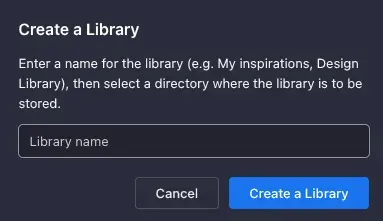
Image from Javier Cristóbal
To create a Library you will have to choose a name and a path
A library is a file that the application will use to manage everything you store in it in the future, not only the files themselves, but also other metadata, such as tags, comments, star ratings, etc.
This has several benefits:
- You can store this library (file) wherever you want, like a Dropbox folder as backup purposes, or for syncing the content with other computer.
- You can create as many libraries as you want, and quickly change them in the future, you can do this for instance if you want a personal and a professional library.
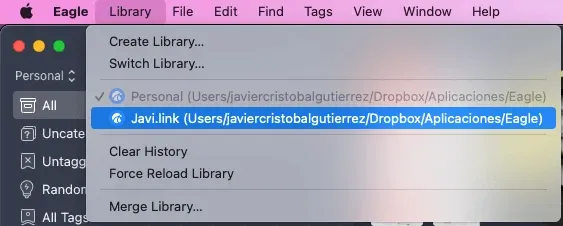
Image from Javier Cristóbal
An empty library looks like this:
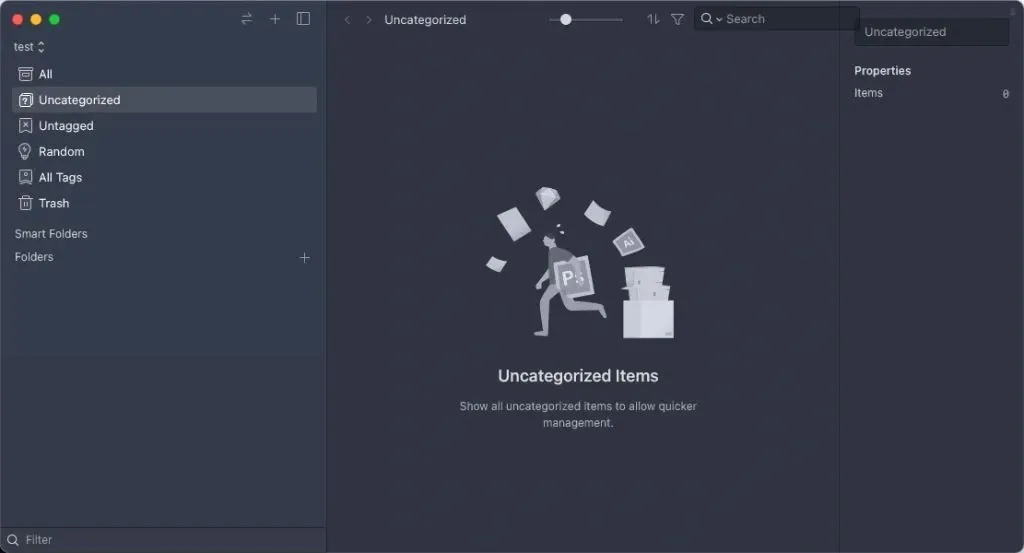
Image from Javier Cristóbal
As you can see, the interface is quite intuitive:
- The first column is the organizational area, where you will find the different (smart) folders and filters.
- The middle column is the preview area, where the different files of the organizational levels you have selected in the first column will appear (for example, the files contained in a folder).
- The right column is the inspector, which will give you extra information about the selected item in the previewer.
Organize digital assets like a pro with Eagle App
Once you have your database ready, it’s time to start adding content into it.
But first you need to understand how Eagle organize your content:
Any item on Eagle’s library will have one state:
- Uncategorized: meaning that they are not in any folder.
- Categorized: meaning that they are at least in one folder.
For example, I added the Press Kit of Eagle (which has 60 elements) and then I move 7 logo versions to a “logo” folder, that’s why in the following image you can see 60 “all elements”, and 53 of them “uncategorized”.
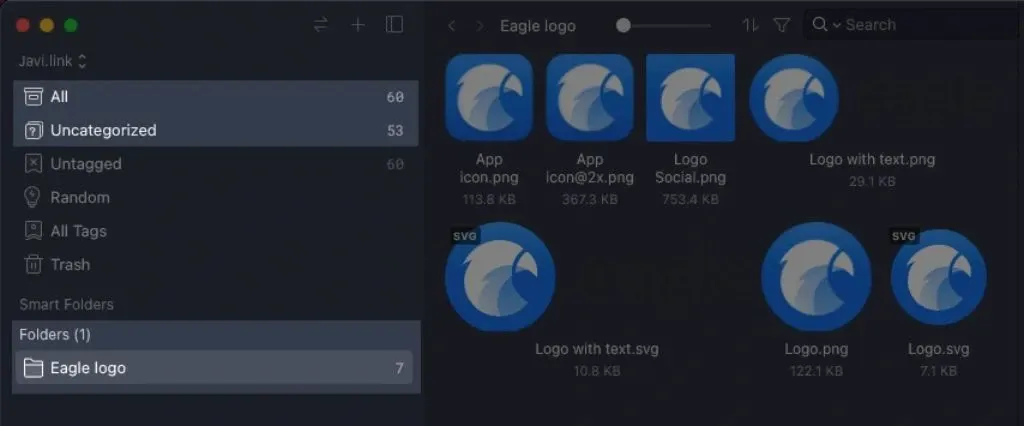
Image from Javier Cristóbal
About Folders
There are a bunch of things you have to take into account while using folders.
- First, you should know that you can use a folder hierarchy, you can put folders inside folders

- Image from Javier Cristóbal
- You can personalize them with a secondary click, picking a color and an icon.

- Image from Javier Cristóbal
- And most important, you can store a file inside as many folders as you want.
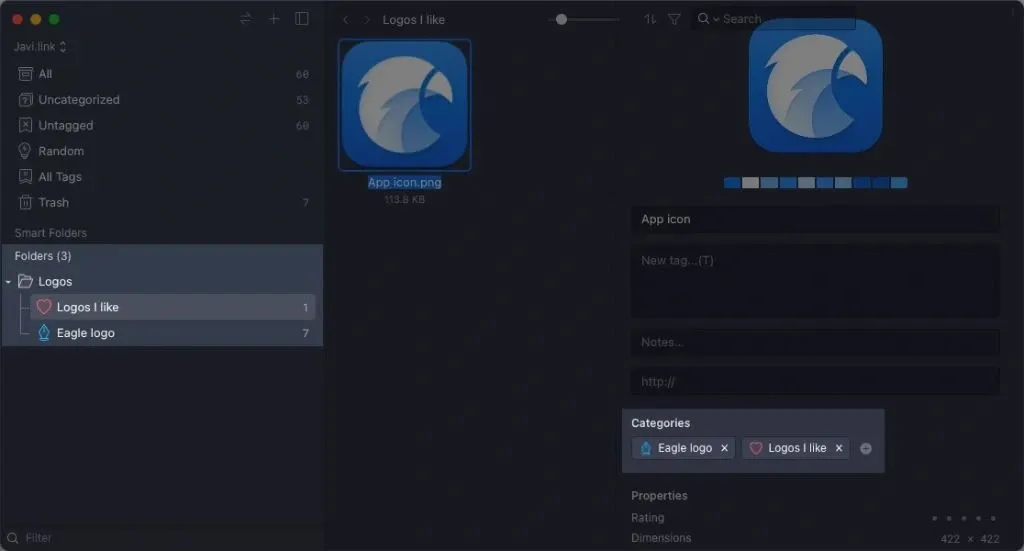
Image from Javier Cristóbal
For doing that, you just need to drag theme there by pressing and holding down the Alt key (⌥ on macOS), or you just simply add their categories (folders) from the inspector.
About Eagle App Smart Folders
Besides the folders (categories), in Eagle App you can also create Smart folders.
Smart Folders are a very powerful way to organize and quickly find what you need, as they allow you to automatically gather items that meet certain criteria.
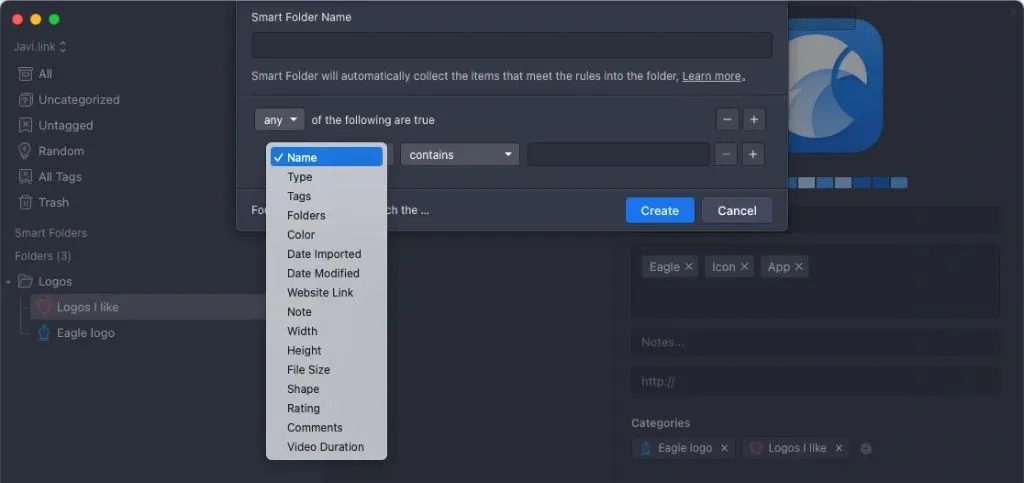
Image from Javier Cristóbal
You can for example create smart folders:
- By file type: to see all your images, PDFs, audios, photoshop files….
- By source: to check for instance all the images captured from Instagram.
- By creation date: to quickly access the last items added.
- By size, shape, stars you have added, comments, colors…
As you can see, a very powerful tool if you have many elements.
You could also create Smart Folders by tag.
Creating tags in Eagle is really easy, you just need to go to the inspector, and click the “New tag” box, which will display a small popup where you will be able to add all the tags you want.
Capture everything online with Eagle App
So, you know how Eagle organizes your content, now you have to learn how to put content inside, this is how I do it.
Drag and Drop (Pro tip: with Dropzone)
If you want to add something stored locally on your website, you just need to drag and drop the items over the Eagle Dock icon, or the menu bar icon.
However, for me the fastest and easiest way of dragging and dropping is using Dropzone, so I actually have the Eagle app there.
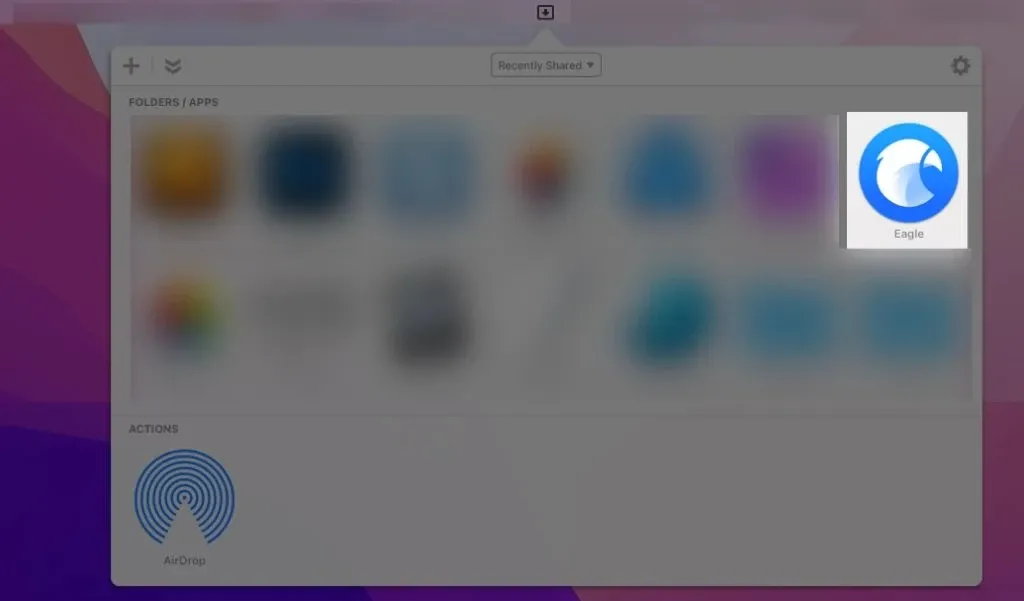
Image from Javier Cristóbal
Copy & Paste
Not a fan of drag and drop?
You can think of Eagle as if it were just another folder on your computer, so once you’ve copied the items elsewhere, simply go back to Eagle and paste them with the shortcut Ctrl+V (⌘V on macOS)
Use the web browser extension
Eagle has browser extensions for Safari, Edge, Chrome, Brave and FireFox.

Image from Javier Cristóbal
Once you have it, every time you see an image you like,
just drag it to make a small Eagle box appear on the scene.
You’ll be able to save it there then, even in a specific folder!
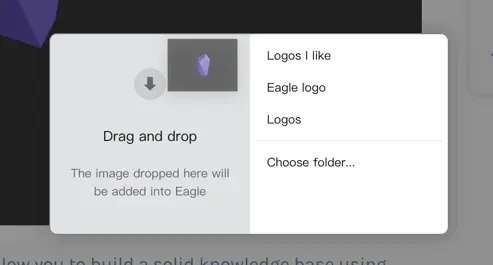
Image from Javier Cristóbal
You can even right click over an image while having ALT hold to quickly capture images.
But if you want to capture all the images on a website, just click the icon and select the option “Batch Save”, to capture all the images of the website you are on.
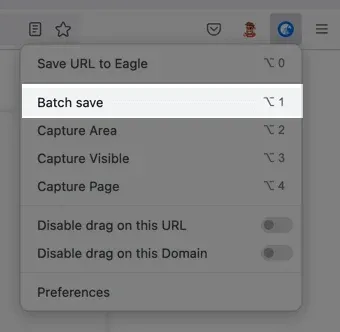
Image from Javier Cristóbal
Note that besides Batch Capture, there are other options on this menu, if you pick “Save URL to Eagle”, you’ll be able to use the app as a bookmark manager.
And if you save Vimeo or YouTube URLs, you will be able to check the video from the app itself. You can actually check any URL you capture from Eagle, but being able to watch there the videos is much more impressive.
Besides the Batch Save and the URL capture, you’ll find in the Eagle menu the screenshots options.
- Capture Area, will allow you to take a screenshot of a specific area that you select, for example, if you want to capture the design of the comments of a blog.
- Capture Visible, makes a screenshot of the page you are visiting, but only the part that you can see on the screen without doing any scroll.
- Capture Page, is undoubtedly the most interesting option, since it will capture as an image all the content of a website (scroll included!), very useful for example to show the complete design of the web you are working on to your client.
The browser is not the only place where you can take screenshots, if you check Eagle preferences, you’ll find shortcuts for taking screenshots also on your computer.
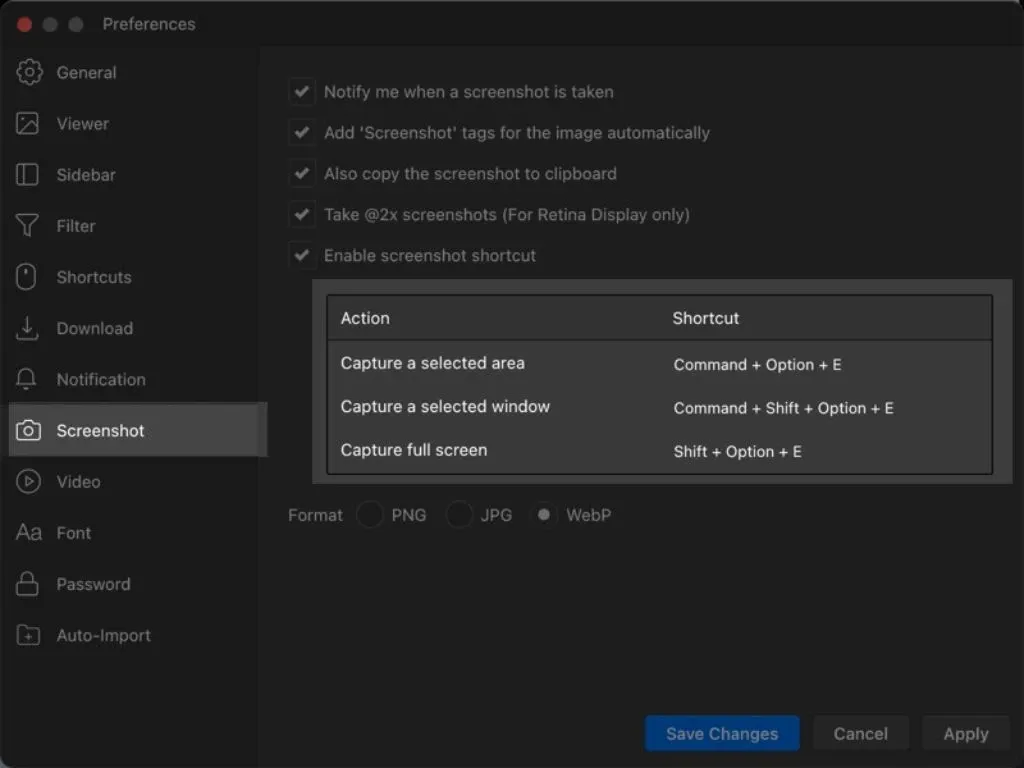
Image from Javier Cristóbal
The “Auto-import” feature will monitor a specific folder on your computer, anything you put in there, it will be automatically imported into Eagle App.
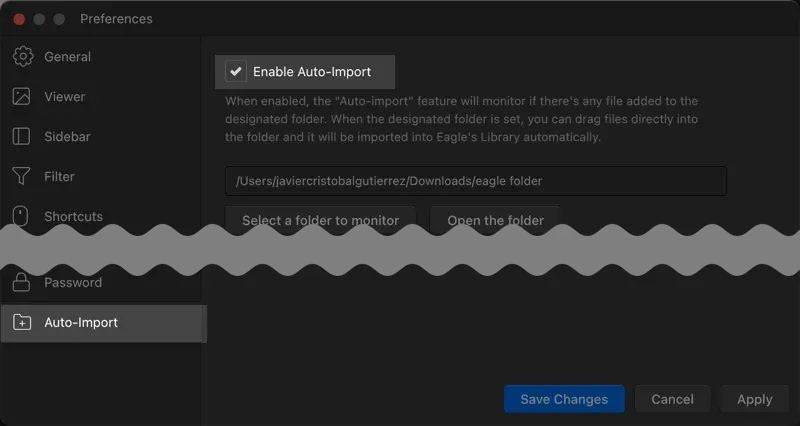
Image from Javier Cristóbal
So you can also use this feature with Dropzone, Hazel, or even monitor a folder in the cloud so you can send images from your smartphone to your Eagle Library.
Important! the auto-import folder will have a specific folder, one for each library. And the file you drag there will disappear after the import.
Finding Your Media Assets in Eagle App
Now you know how to capture items, and how to organize them in your library.
But you still need the most important step: retrieve the items you need as quickly as possible.
You can of course manually navigate through the different folders and smart folders. If so, I recommend you to use the quick launcher you will find it in the “Find > Go to Folder” menu, extra points if you use the keyboard shortcut.
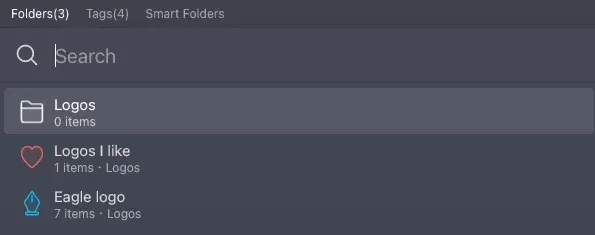
Image from Javier Cristóbal
Eagle also has the classic Search box, so you can quickly find what you need.

Image from Javier Cristóbal
The good thing about this search engine is that it not only analyzes file names, but its scope is much wider, being able to read folder names, tags, extensions, URLs where the element has been captured, comments, or notes.
This way, if you know that you have written annotations on an element (something you can do from the inspector), you will be able to find it quickly using the search engine.
Just below this search engine you will find the filter (which you can hide and show using the button to the left of the magnifying glass).
The filter is mainly useful for once you are viewing items in the central panel (from the “all” folder, or from a specific folder), you can refine the search, for example by asking it to show you the images that have a certain star rating, only those items that are PNG, those that are tagged in a specific way…
The filter works as if you were creating a smart folder temporarily and quickly.
One of the most interesting filters you can apply is the color filter, ideal for designers.
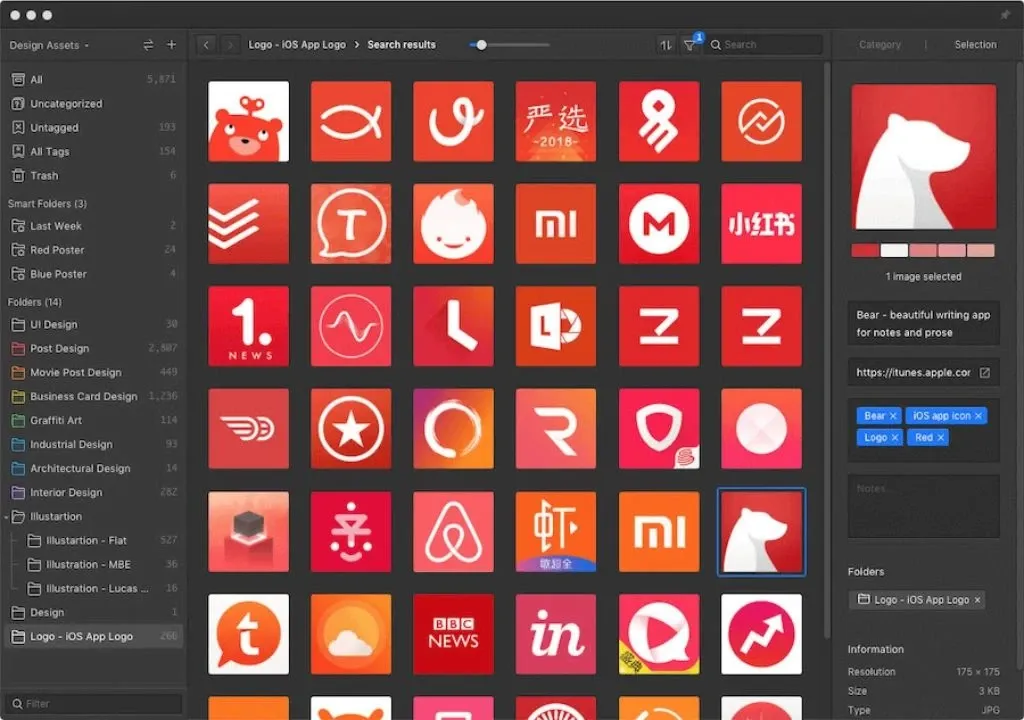
Image from Javier Cristóbal
Besides all of the above, Eagle has an option called “random search”, which will show you random items from your library every time you go there.
It is not useful to find a specific file, but it is a very interesting way to browse through your items in order to find things that you would otherwise probably have forgotten.
My 10 Tips on How to Use Eagle App
- I’ve created Smart folders for quickly find items imported today (or this week, this month…)
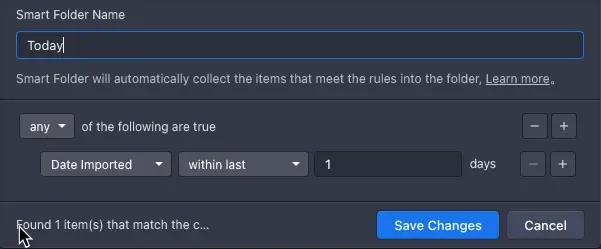
Image from Javier Cristóbal
- When I want to show a draft blog post, I capture the full page with the browser extension, then I upload it to CloudApp, so I can quickly share the final result (example)
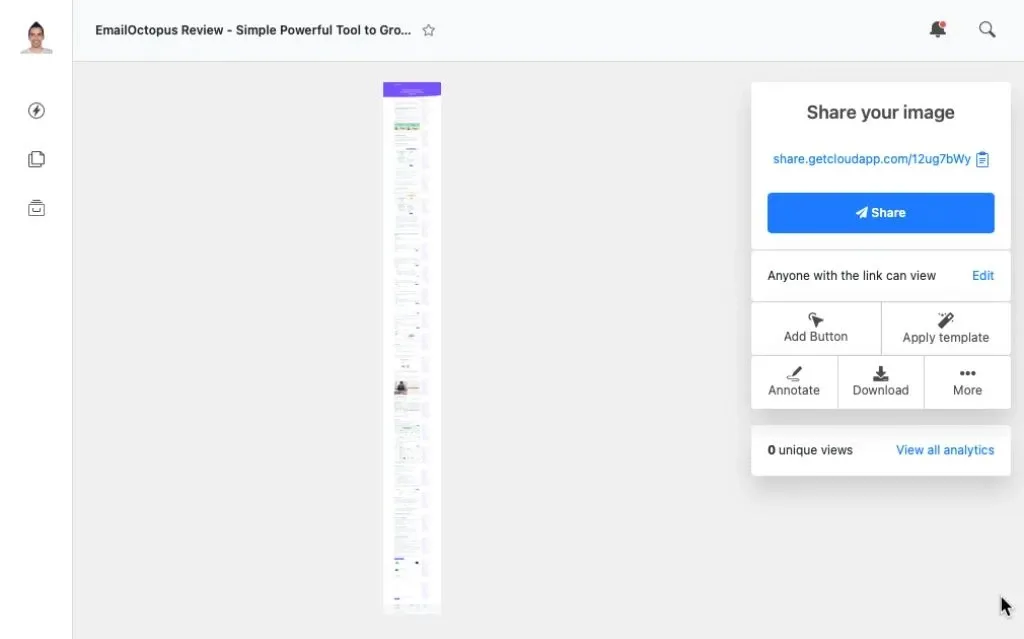
Image from Javier Cristóbal
- I capture Sales pages to analyze them later. One of the things about great sales pages, is that they use to disappear after a big launch. That’s why I’m used to captured them, so I later can anlayze not only the design/structure, but also the copy.

Image from Javier Cristóbal
- I keep Music and sound effects on Eagle, so I can quickly find and use them for my videos (usually, screencasts)

Image from Javier Cristóbal
- Mockups. You don’t need to be a designer in order to create quality content. There are tons of free mockups you can use in just a bunch of seconds, I store them on Eagle.

Image from Javier Cristóbal
- When an ad grabs my attention, that means the ad is working, so I add them to an “ads” category, in order to analyze them later, or maybe for creating something similar in the future.
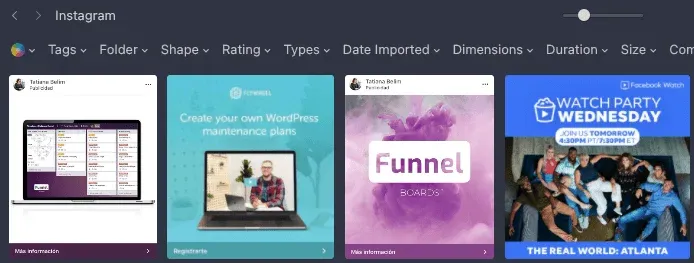
Image from Javier Cristóbal
- YouTube Thumbnails and Banners, similar to the last point. If a Youtube thumbnail grabs your attention, that means it’s working. ALT + Secondary Click over the thumbnail and it will go directly to your Eagle library!

Image from Javier Cristóbal
- Just pics. Similar as mockups, there are many websites that distribute pictures you can use for free on your blog post or digital products, so you can save your favourite ones on Eagle.

Image from Javier Cristóbal
- Fonts. I use some specific fonts for some of my lead magnets and written products, so I also store them on Eagle, because it allows me to preview them easily.
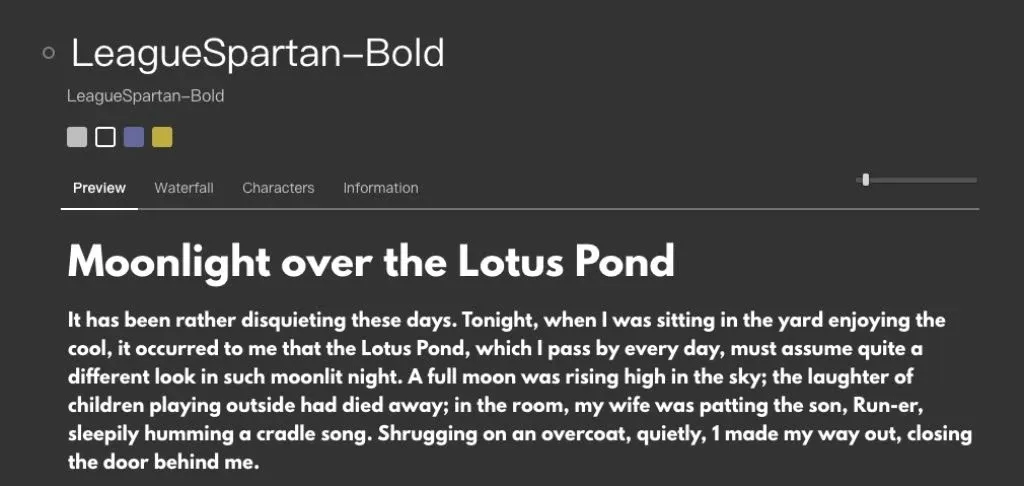
Image from Javier Cristóbal
- Rooms and setups. You can also use Eagle for personal purposes, I use to store there too rooms and setups I like, but you can store there anything you want. Think about it as your personal Pinterest.
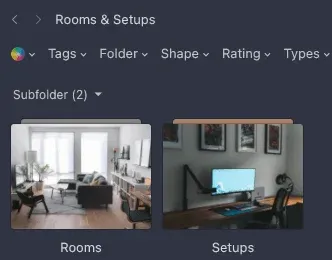
Image from Javier Cristóbal
As you have seen, Eagle is a pretty handy piece of software, and for its price, it’s an app that you should seriously consider use.
The article is originally written by Javier Cristóbal - Eagle App, capture, organize and find any media asset. You can follow him on Twitter or Instagram.


