
7 Best Practices For Organizing Your Eagle Library
Recently, many users have reached out to learn how to sync their files on different devices.
Actually, as an on-premise tool, it is safer to save your files on a PC. But if you have a desperate need to use your assets on different devices and sync them in real time, it is recommended to apply third-party tools such as Google Drive.
Though as it said, Eagle is still good at organizing and backing up all your files on the PC. Make the best use of the following tips, you will be amazed at how efficient Eagle can be!
7 Best Practices For Organizing Your Eagle Library
01 Adding images to other libraries
When you want to move a folder to other libraries as you’ve built multiple ones, you can right-click on the folder and select "Add to Other Library" to choose a path you'd like to add to.
This feature also applies to moving a tag group or smart folder.
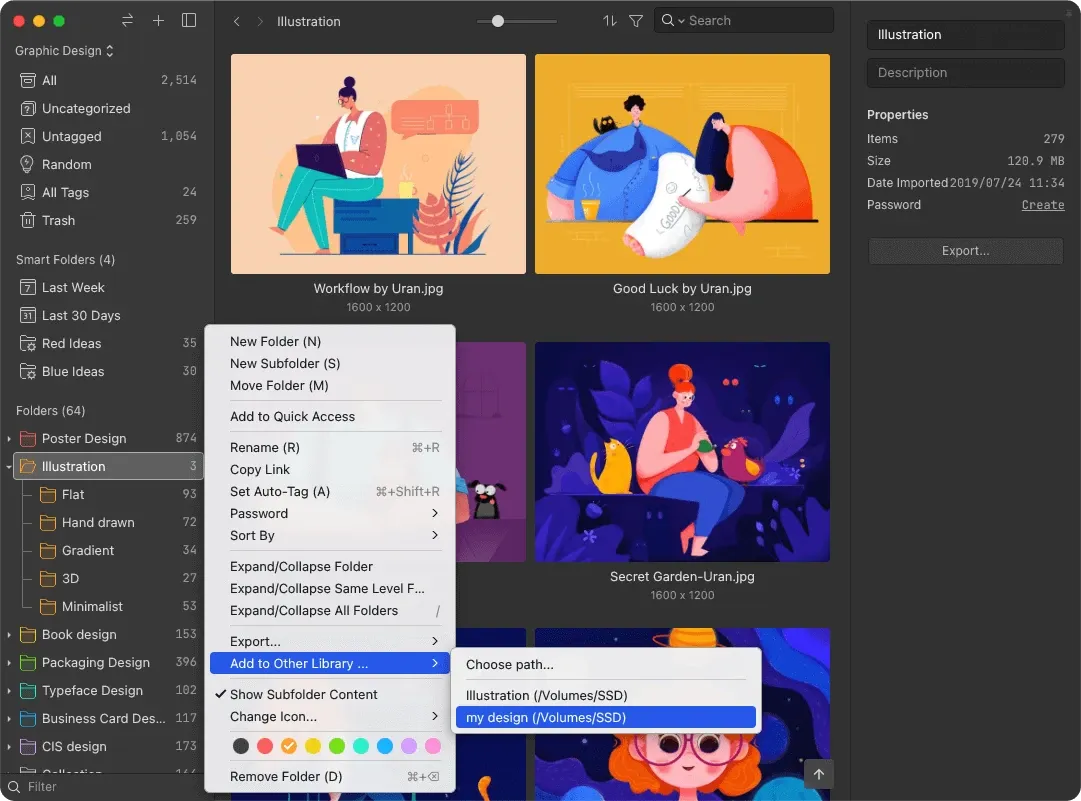
Kindly remind that when you are moving a smart folder, you only duplicate the “settings” to another library.
That’s for the reason that, the smart folder is created under certain conditions, and after one is set up, the files that meet these conditions will be assembled in the Smart Folder.
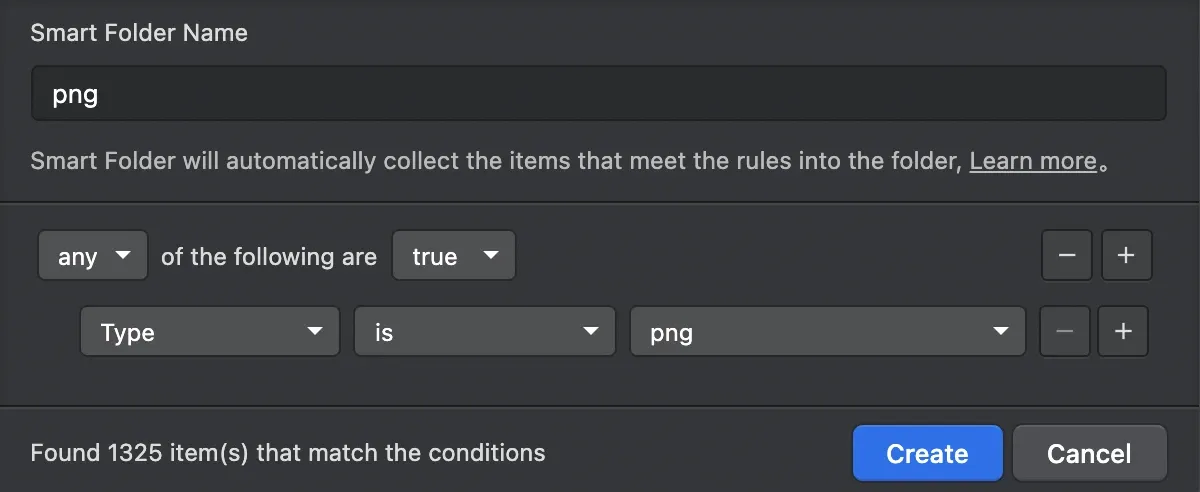
That said, if you move a smart folder that filters “Type is png” files, the png images in the original library won’t be moved at the same time.
02 Merge libraries
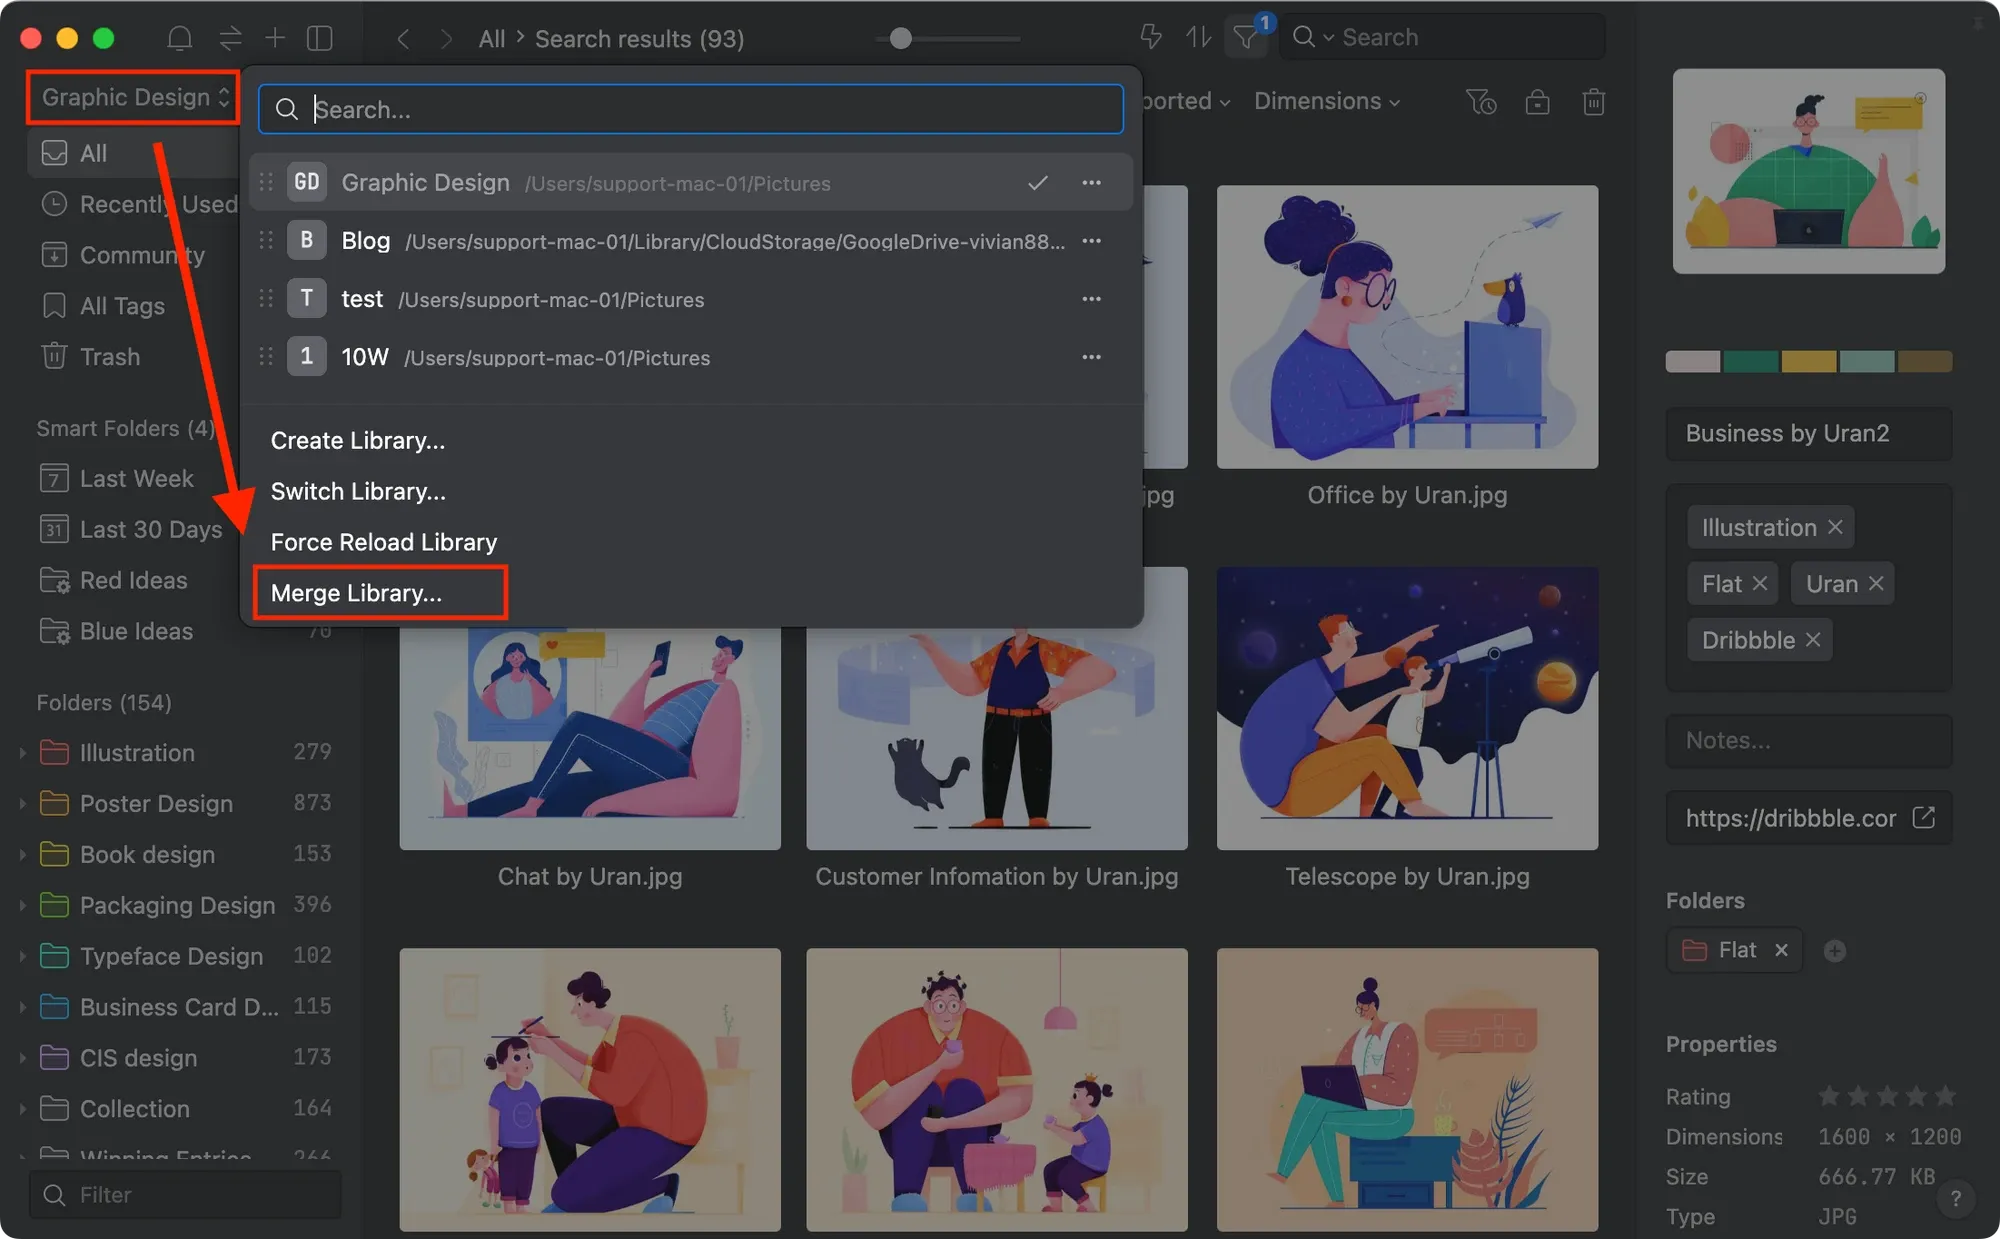
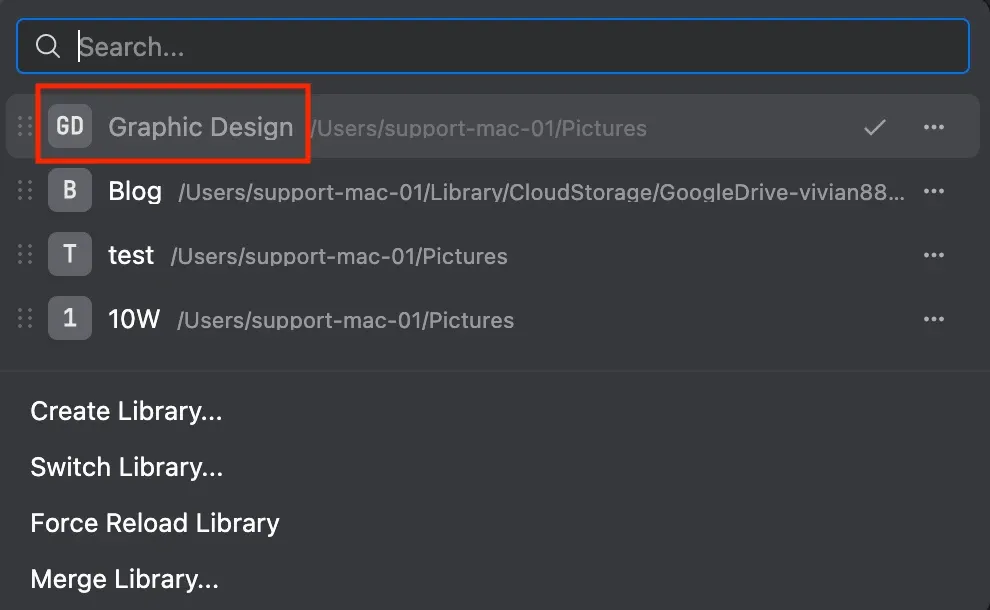
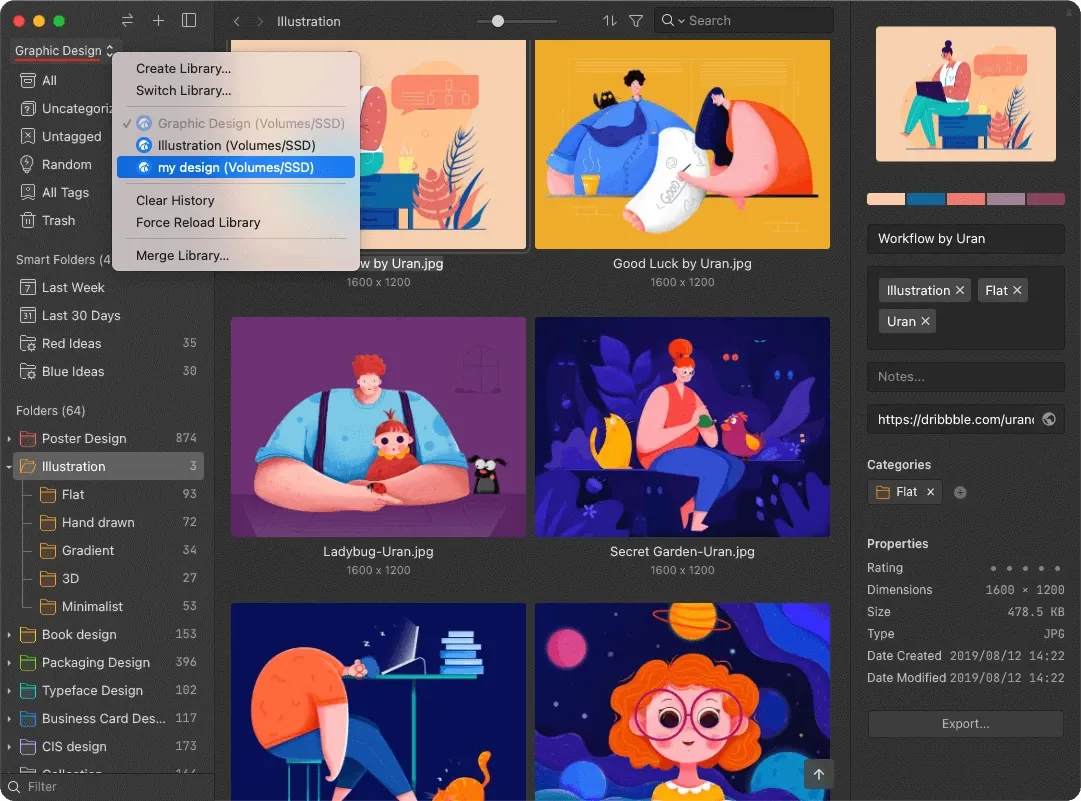
By chance, you’ve created multiple libraries and you want to merge them to organize better, you can do that just by clicking on the “Library Name” on the left sidebar > “Merge Library…”.
03 Switch between libraries
If you want to quickly swap between libraries, you can either click on the library name on the lift sidebar, the same as the previous tips.
Or use the shortcut “Ctrl+L”. Organizing all your content can never be easier!
04 Change icon for libraries
Besides using the shortcut “Ctrl+L” to switch between libraries, you can change the icon of libraries with the same hotkeys, making the libraries more recognizable in Eagle.
05 Sort the libraries
Another tip you can apply with the same shortcut, you can press and drag the libraries to change the sorting. It makes your work easier if you have a lot of libraries.
06 Rename the libraries
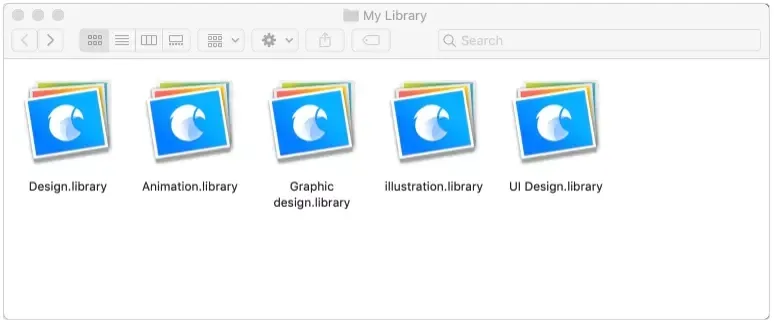
If you want to rename the libraries, you have to find the directory of the libraries on your PC, as their names are developed to be the same as the “ .library folder”.
If it’s named “Graphic Design.library” on the PC, you can see a “Graphic Design” library within Eagle.
The library folder on PC:
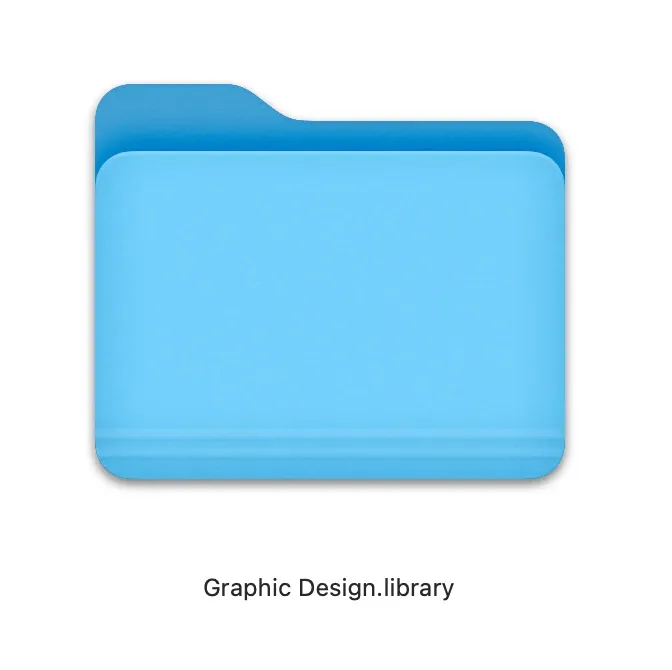
The library folder in Eagle:
That’s for the consideration of not misleading the users to delete the library folder by mistake and causing all the resources to go.
So if you’d like to rename the library, just find where the folder’s located.
07 Move library to another device
If you need to change your computer or share all of your design resources with colleagues, you can first find out where your library’s located on your PC.
Find that “.library” folder, and then copy it to your hard drive or cloud drive.
This way, all the files, settings, tags, etc. can be copied at once.
Remark: It is recommended to compress the library before backing up and copying it to avoid technical errors.
That’s it for today. Hope you find this helpful and share it if you like it!
Weekly curation & Editor’s Picks: Mockups for Product Designers
1. 44+ Magazine & Book Mockups

2. 145+ Stationery Mockups

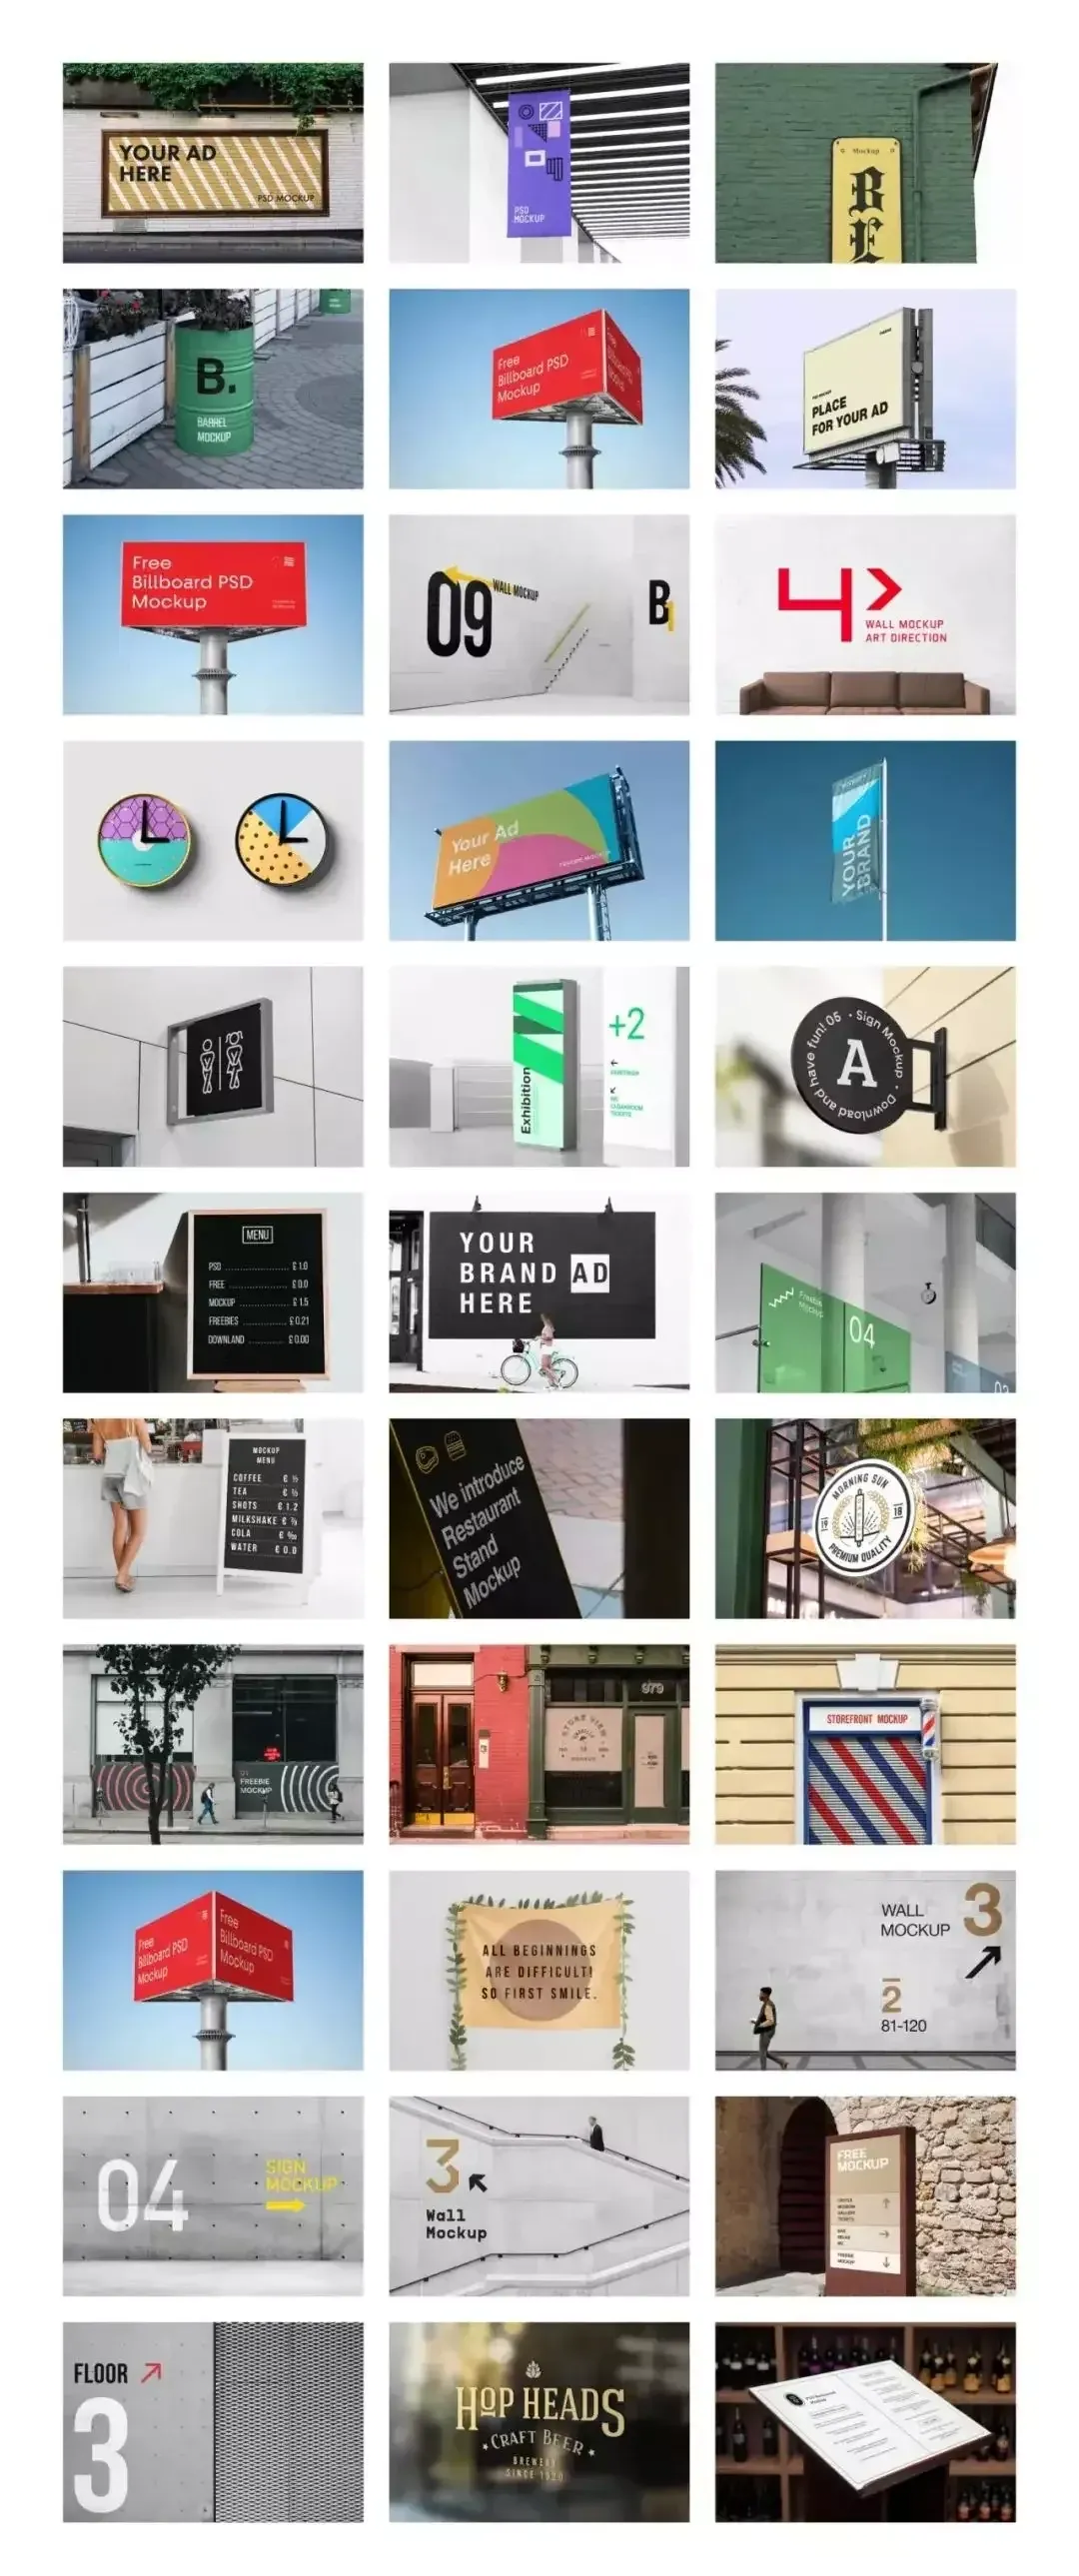
3. 82+ Sign & Billboard Mockups
4. 73+ Free Branding Identity Mockups
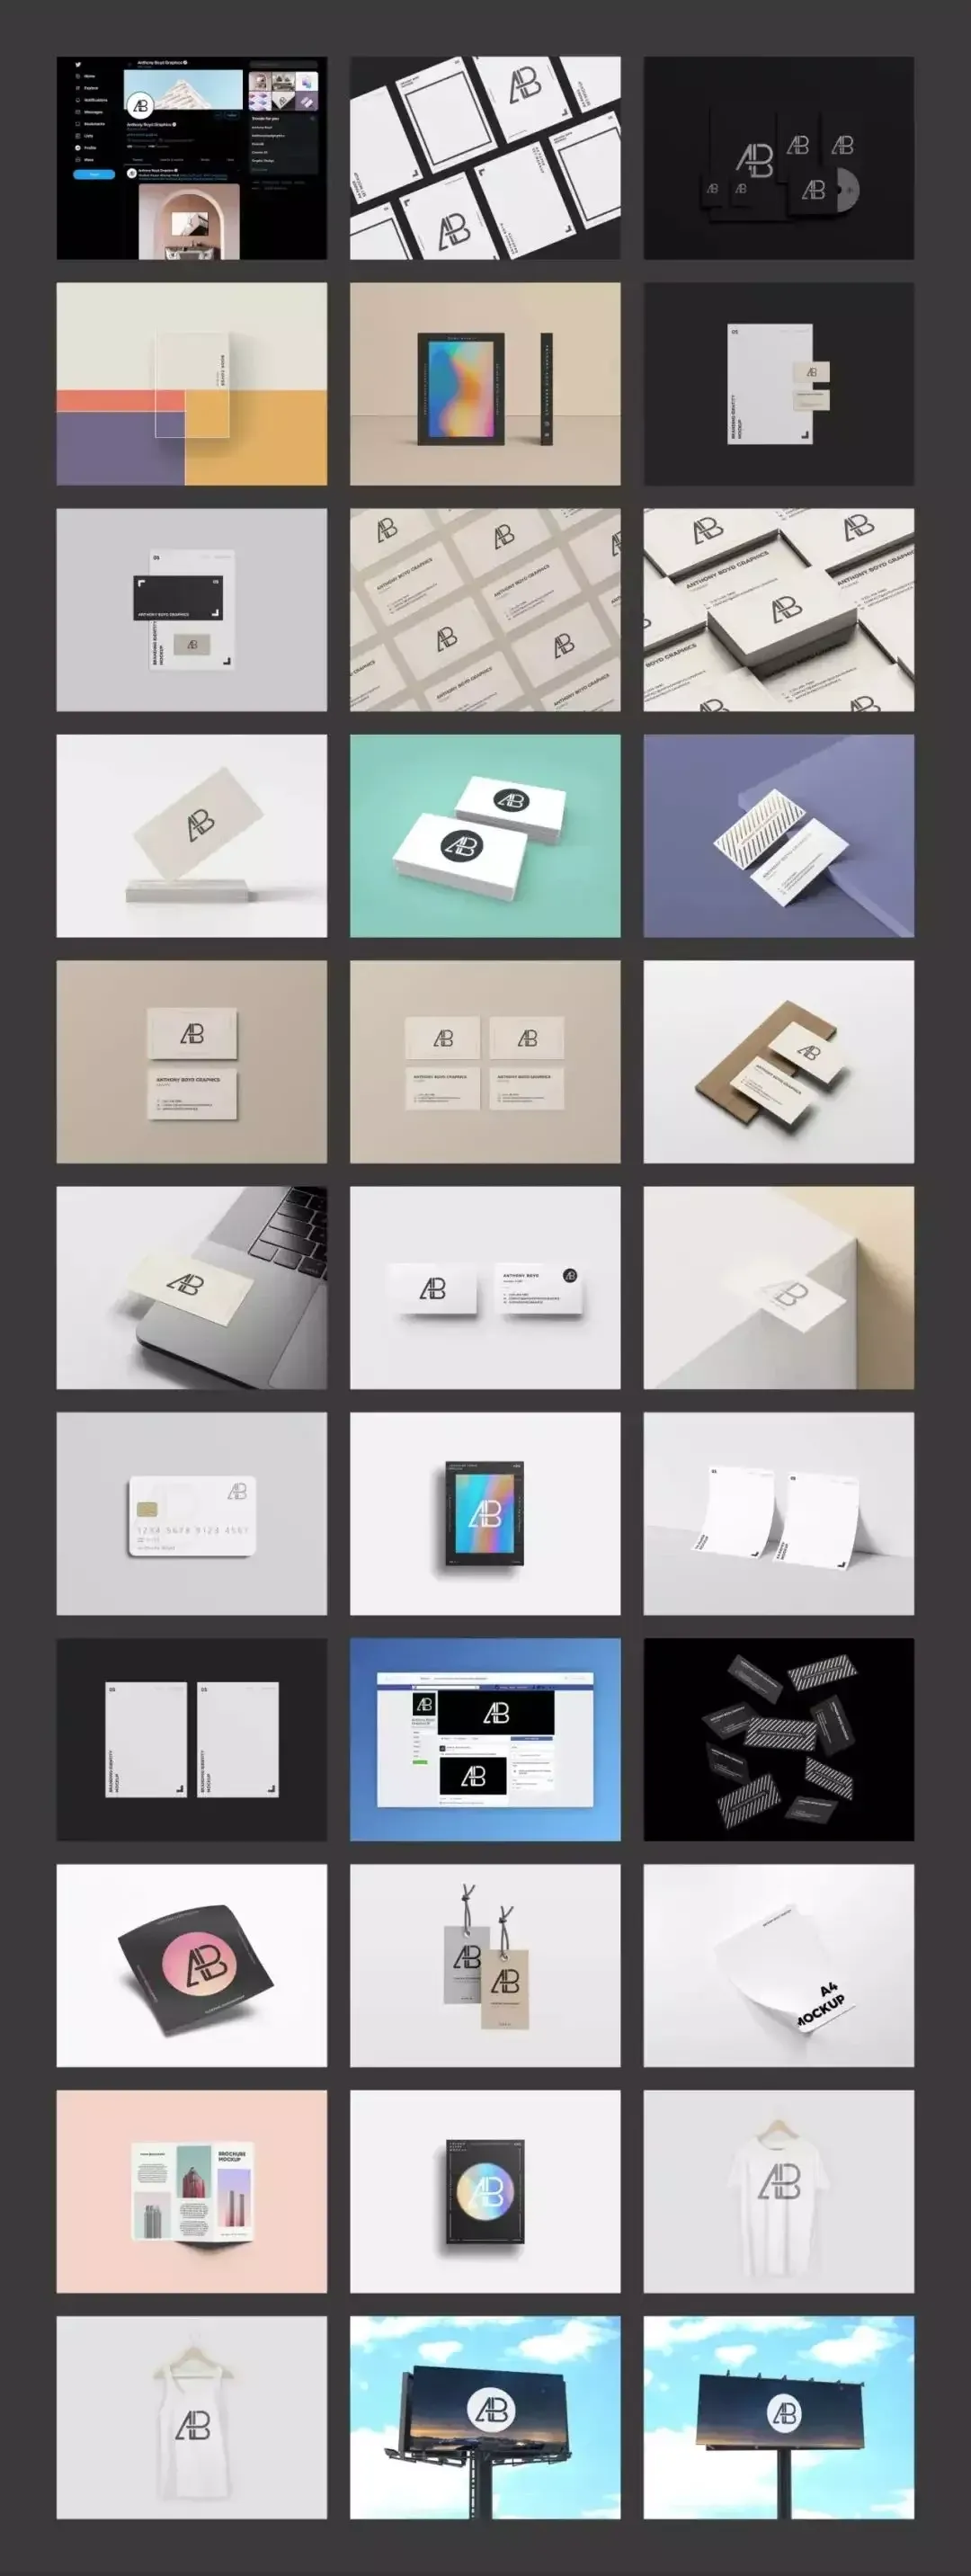
Download more mockups here: https://community-en.eagle.cool/user/19e91f47-9d38-4487-a2a3-835ae701d430
Find more on Eagle Community, more stunning resources are waiting for you!
- Website: https://community-en.eagle.cool/


