
7 Tips for Organizing Eagle Library with Logic Using Folder & Tag
Eagle's functions are not complicated, but many people don't know how to use its functions to make file management more efficient, so many people use Eagle just to save pictures and not organize them, and as your library grows, you are not able to stay organized.
Therefore, this article will summarize the folder and tag organization logic shared by some of the designers and teach you how to classify files in order to make your workflow more efficient.
I. Categorize by Folder
Before categorize files into folders, ask yourself what types of files do you have? Such as illustrations, posters, logos, font, UX or UI?
After analyzing your files categories, you can start creating the type of folders and put them in.
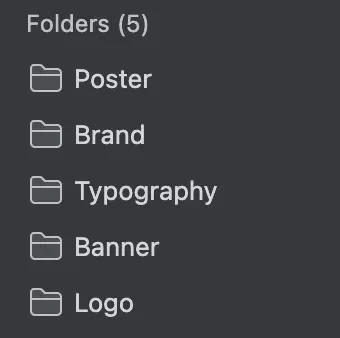
You can create a sub-folder under the large folder to further categorize them, just right-click on the folder to create a new subfolder.
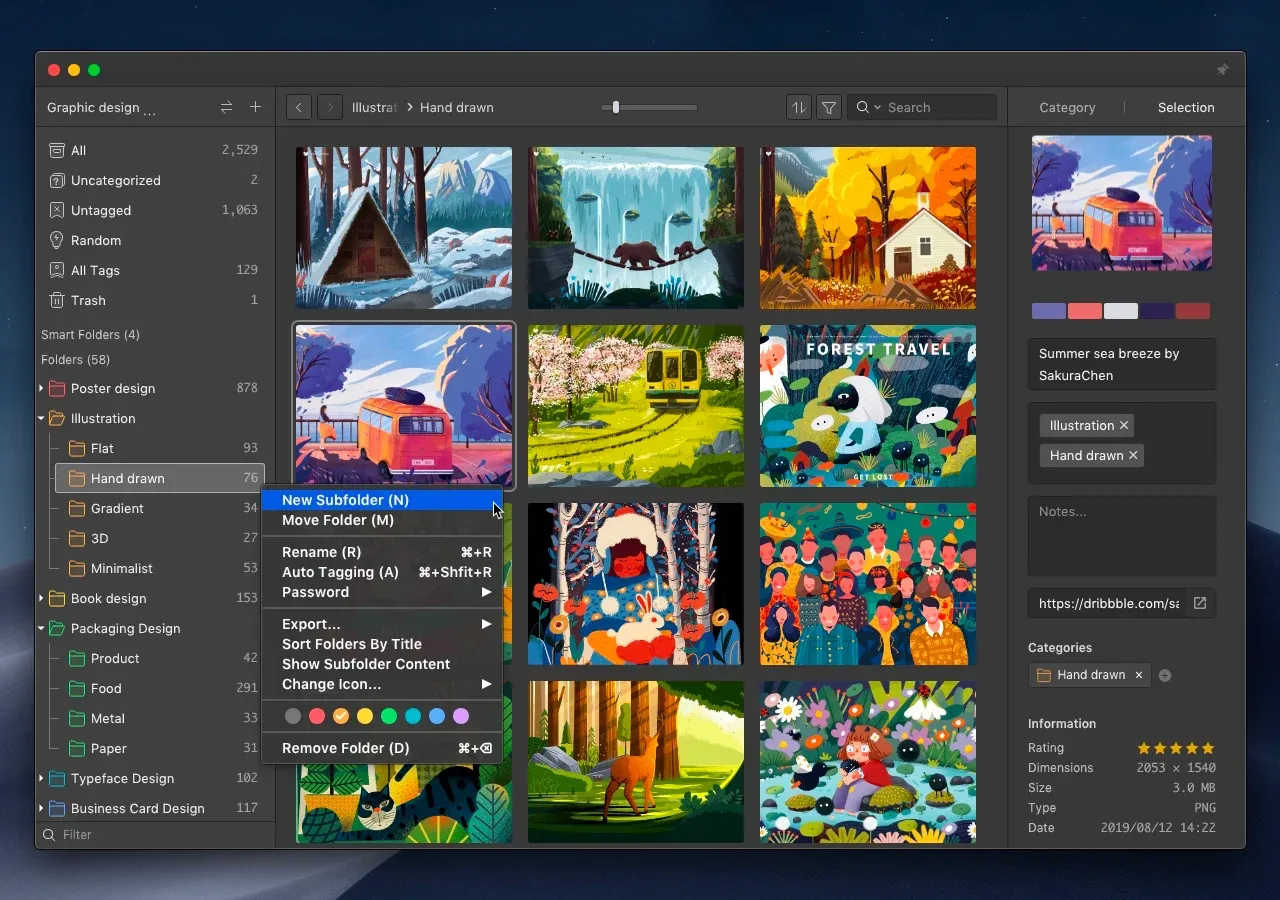
For example, if I create a new folder named “Illustrations”, then after I categorize the files into them, I can further categorize them with styles, formation or content.
- Illustration style: Japanese, Chinese, American
- Formation: 3D, 2D
- Content: people, landscapes
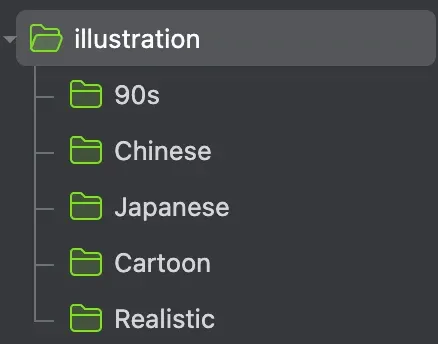
And so on, this is just to provide an idea, you can classify files into any aspect, as long as you are comfortable and are able to find them easily.
If you have no idea where to start, you can check out design websites check out how they categorize files!
Eagle Community Categorization Structure:

II. Categorized by Multiple Folders
Eagle supports categorized files into multiple folders without taking up your computer space.
If you want add file in a different folder, just use Alt+drag to move the file into the target folder, which allows you to find file in both folders.
For example, this image can be categorized into flat, hand drawn and doodles, you name it.

III. Customize Folder Icon
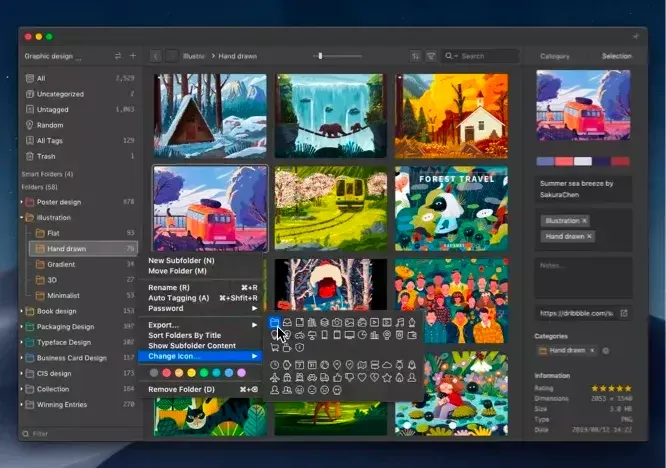
IV. Categorized by Tags
The difference between a tag and a folder is that the folder is suitable to be divided into major categories. If the sub-folders continuously nested further down, it will be a bit headache to find.

Therefore, you can use tags to classify files, the purpose is to make it easier for you to search for a certain picture.
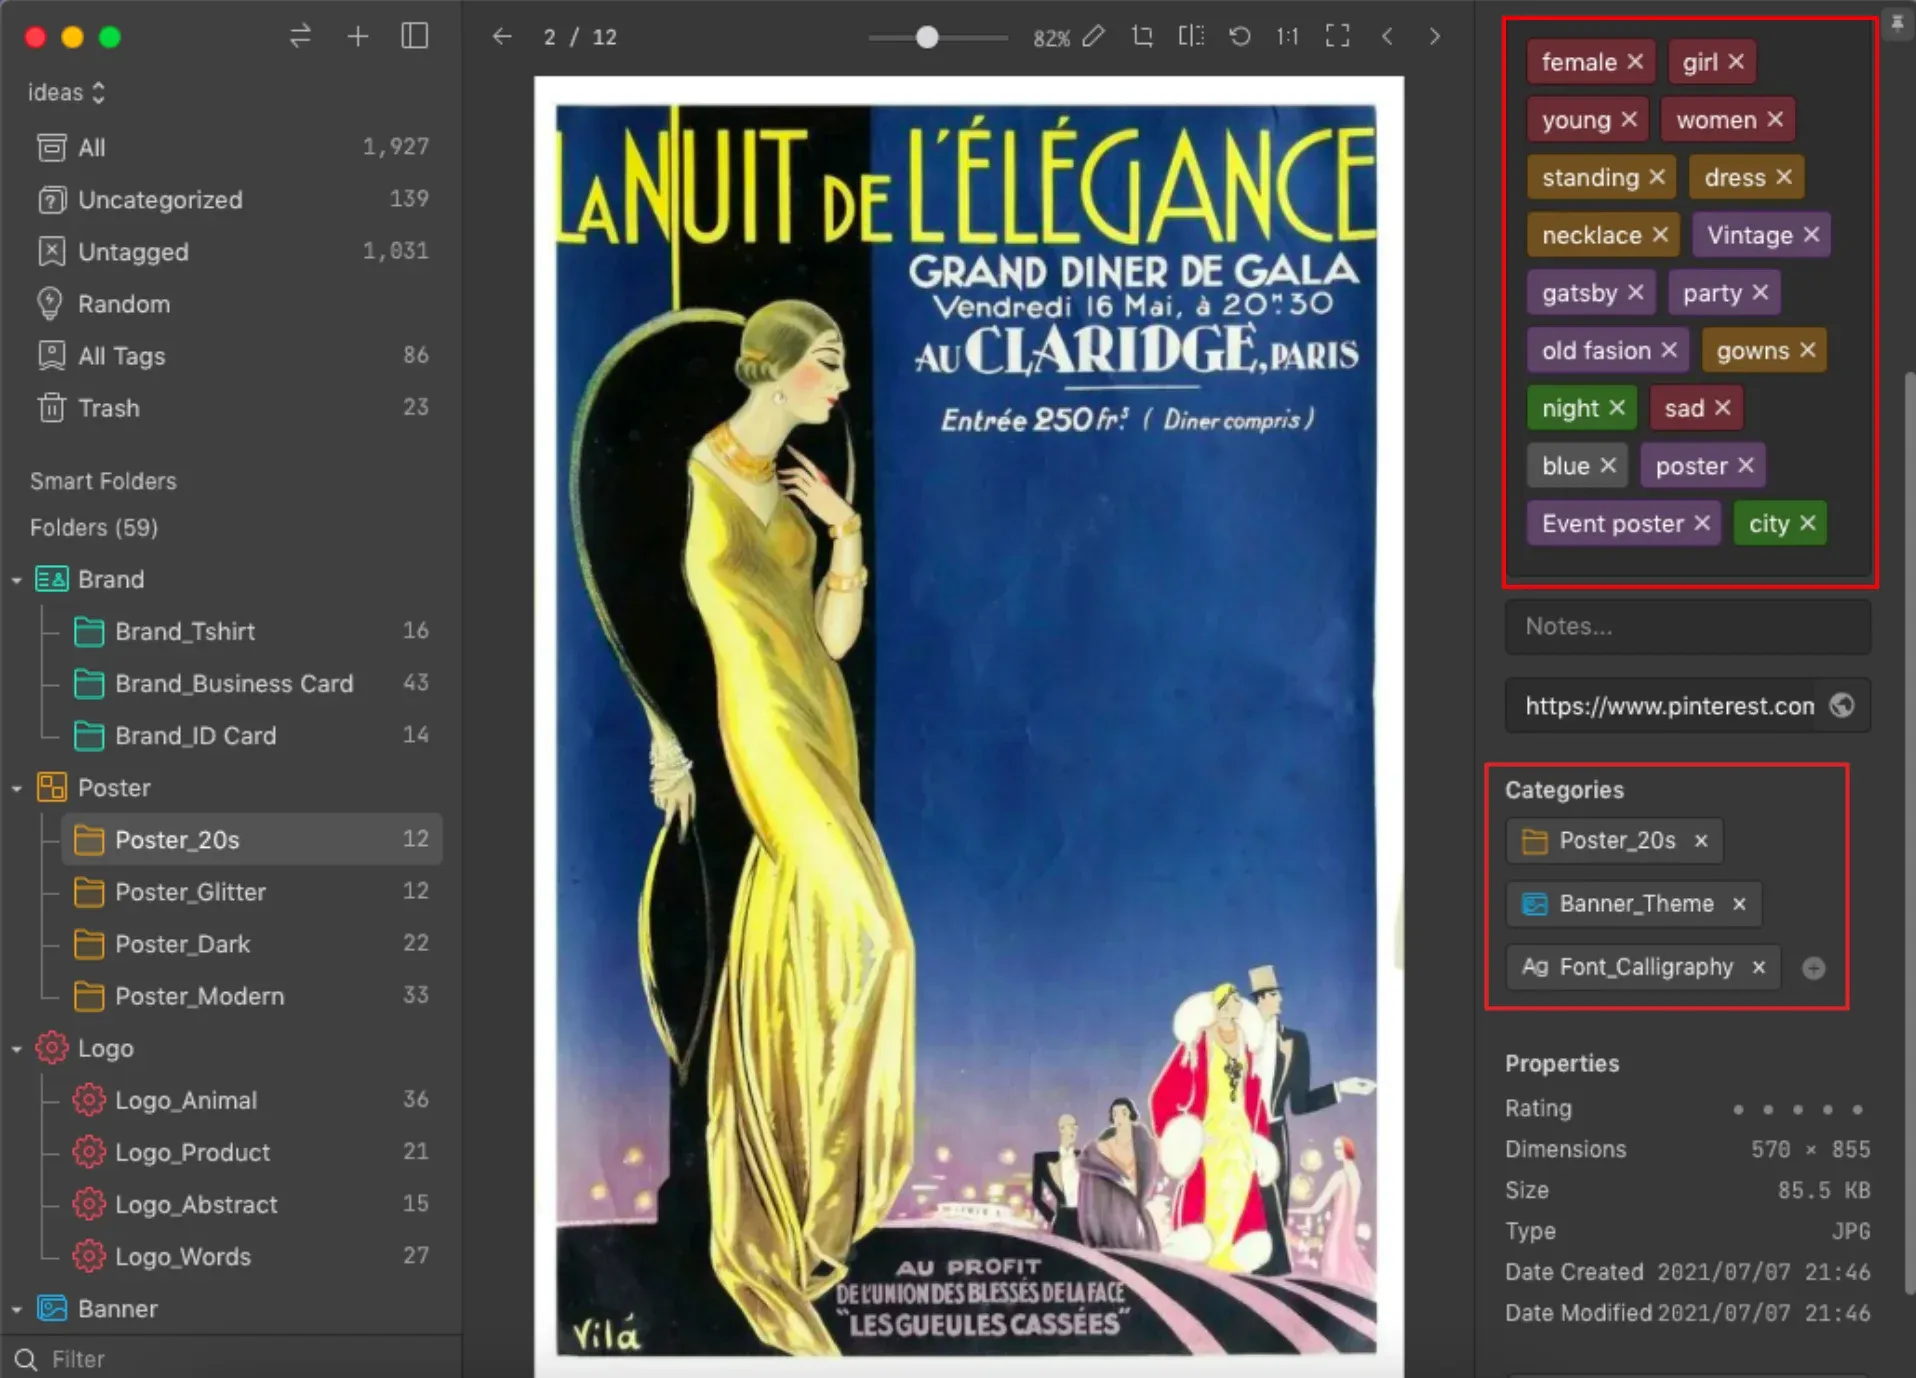
For example, for the illustration below, it is categorized into “Poster” folder. If you don't tag it, then you may only find it when opening the folder in the future.
But if you add tags to it label according to the content of the picture, for example, the picture contains elements such as “female、gatsby、party、night”, then in the later stage of your creation, if you are drawing anything with "party" related poster, you are able to find this file.
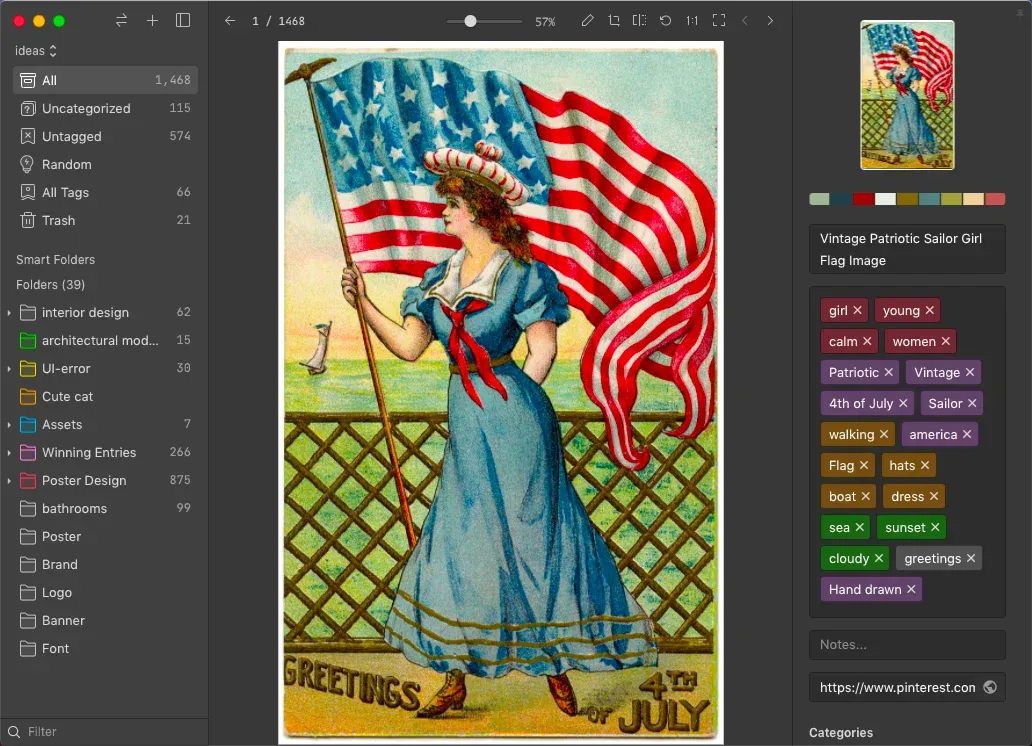
The overall logic of labeling is very similar to the folder classification. To give a few more examples, the labels of this picture are divided into the following categories:
- 【Gender】Female/women/girl
- 【Age】 young
- 【Posture】Walking
- 【Item】flag/hat/boat/dress
- 【Occupation/Identity】 America/Sailor
- 【Facial Expression】 calm
- 【Scene】 sea/ sunset/cloudy
- 【painting method】 hand-drawn/greetings
- 【Genre/Mood】: 4th of July/ vintage/ patriotic
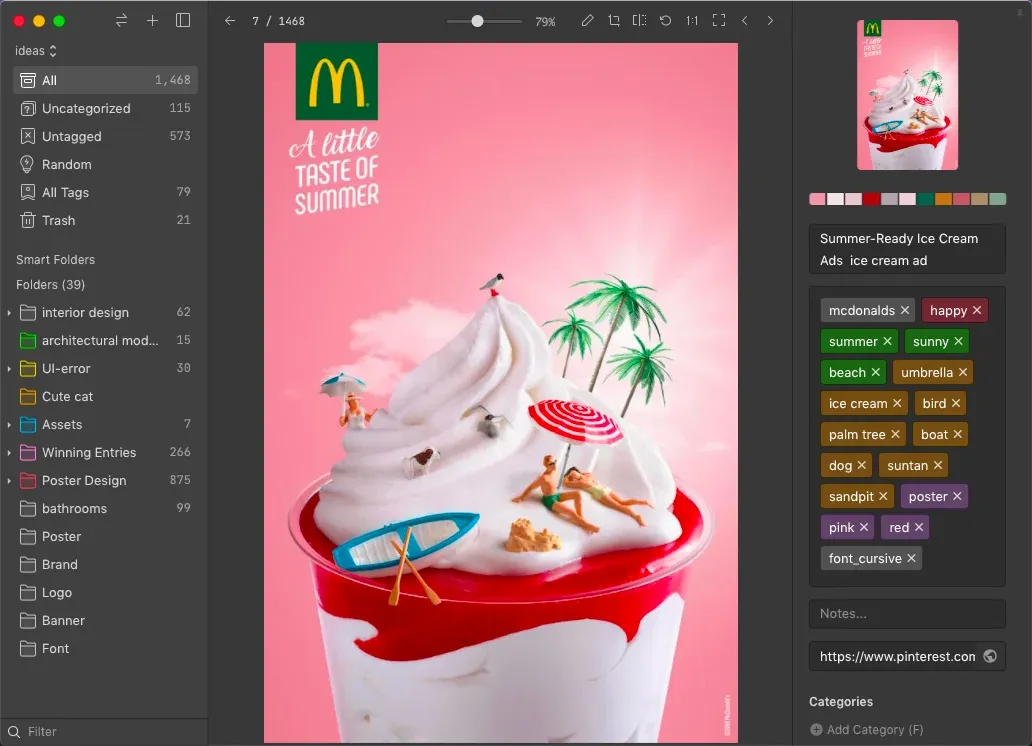
Different files cab be labeled into different dimensions. Such as:
- 【Brand】Mcdonalds
- 【Mood】happy
- 【Posture】Suntan
- 【Scene】 beach /sunny /summer
- 【item/object】umbrella/ ice cream/ bird/ palm tree/ boat/ dog/ sandpit
- 【Font design】 cursive
- 【Style】Poster
- 【color】red/ pink
This way, you are able to find files easier! But that’s not all, here are some tips to make your hashtag searches more precise.
V. Fuzzy Phrase
After tagging, you may not remember every one of them when you really want to find them, so it is recommended that you tag a few more common synonyms.
For example, "UI" can be marked as "UI/mobile", and "Apple" can be marked as "Apple/iOS", so even if you forget the name of the tag, you can find them easier.

VI. Add prefix and suffix to the label
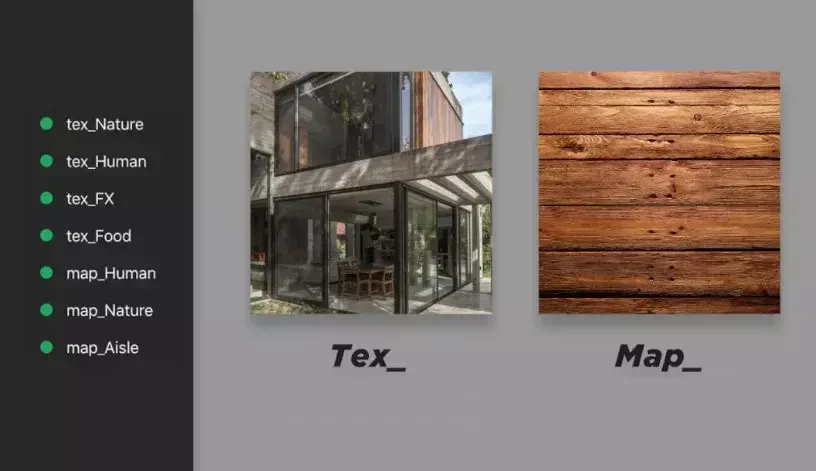
You can also add some prefixes or suffixes to the tags to further classify the tags, such as image which related to texture, you can tag "Tex-Tech", "Tex-FX" so that you can quickly pull out relevant reference images when you are looking for "Tex".
VII. Link between Folder and label
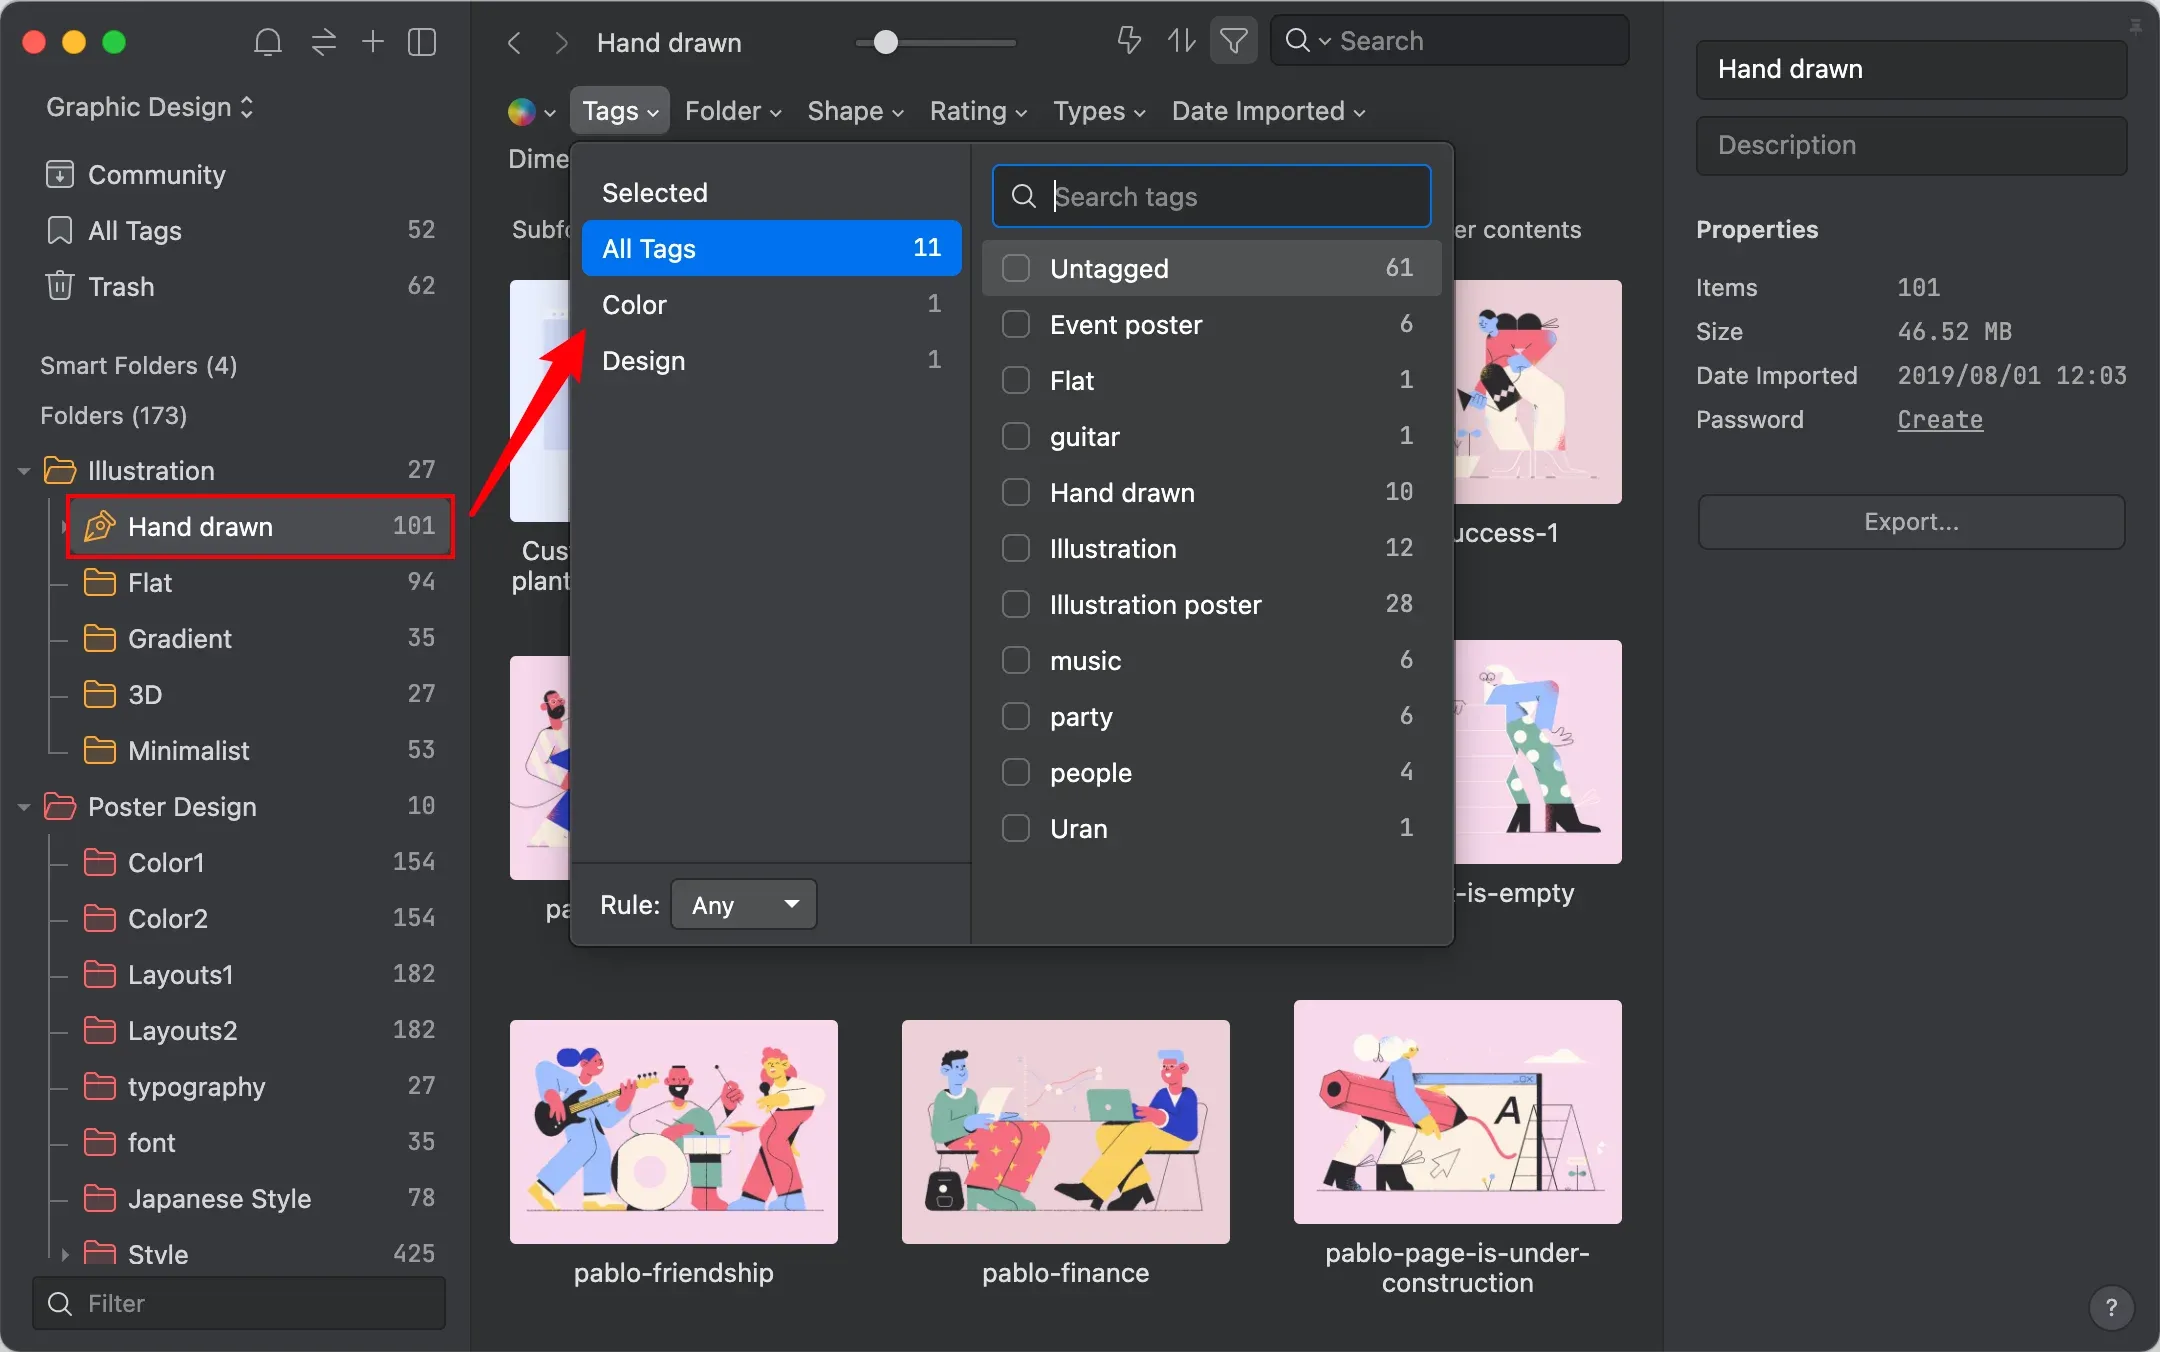
Tags are linked with the folder system in Eagle. When you select a folder, only the relevant tags in this folder will appear. You can also select a tag group to find files faster!
The above is the summary of Eagle's folder and tag organization logic! What do you think? Have you tried them all? Start organizing your Eagle library with these logic now!


