
5 Eagle Importing & Exporting Features That You Must Know
Besides Eagle's basic importing and exporting feature, there are more efficient tricks and hidden tips. This article sorts out these methods to help you get organized and work the most efficiently!
01 Export in Specified Format/Dimension
When you save images online and want to convert them to other file formats, you would probably open Photoshop or similar image editing tools to do that. How time-consuming!
In fact, you can simply do that within Eagle by right-clicking on the selected images and choosing 'Export → Export in Specified Format/Dimension...'
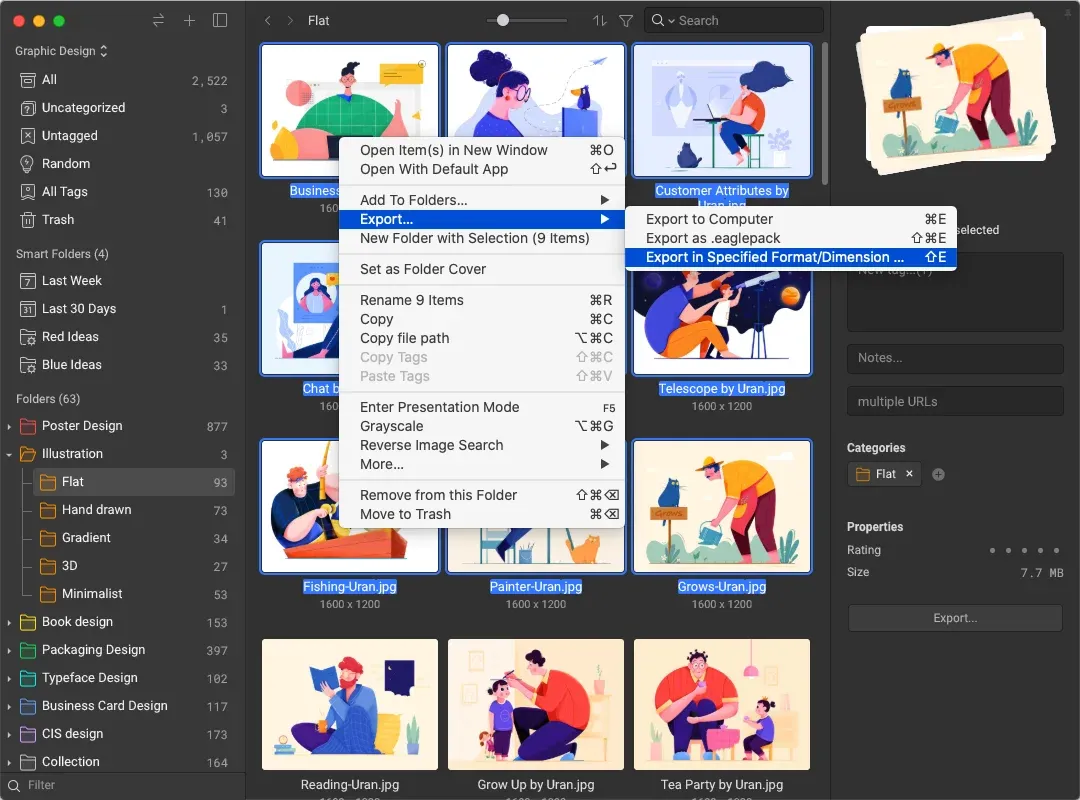
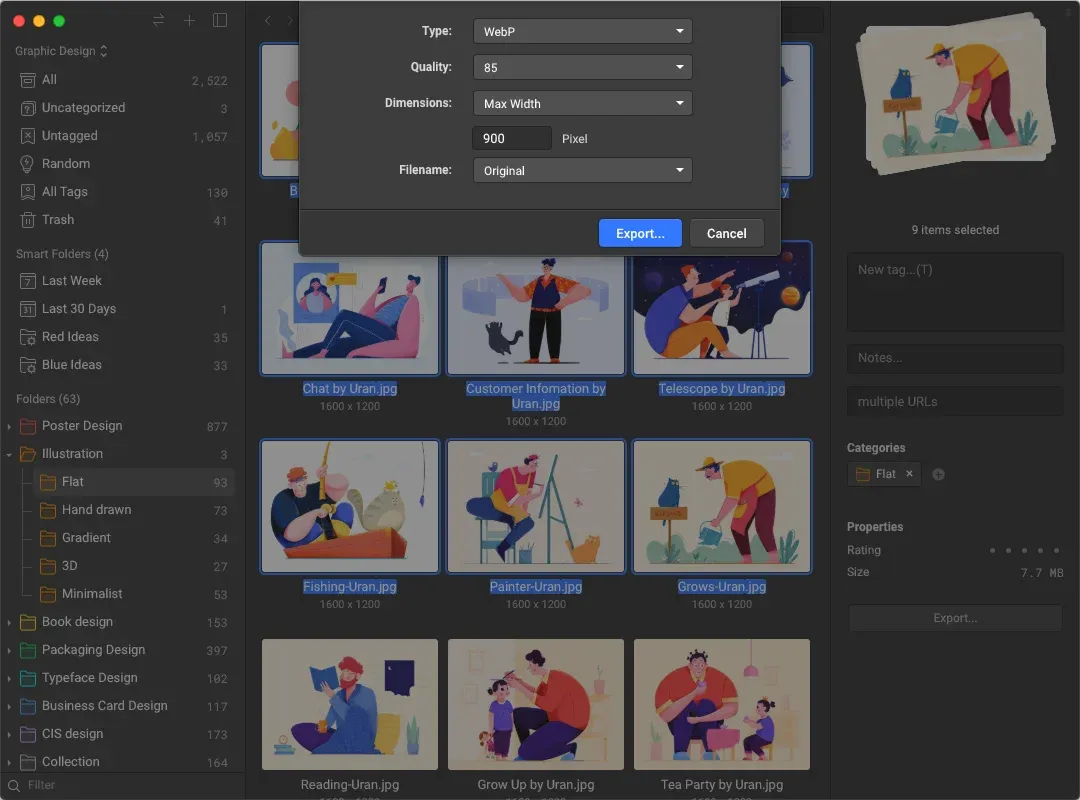
Then, select the format you want to export to, JPG, PNG, BMP, and WebP formats are supported for now. Furthermore, you can also adjust the exporting quality and dimensions to meet all your needs. Better, this can be done in batches, saving you a lot of time!
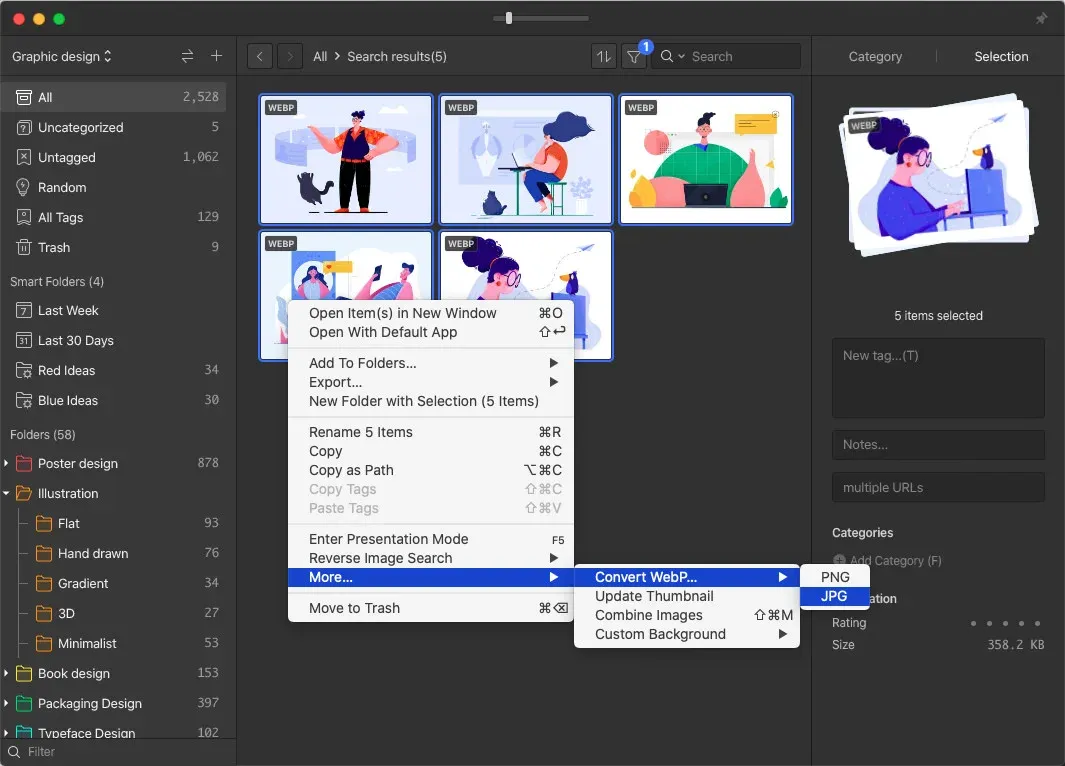
For those who collect loads of WebP images, you can right-click→ “More”→ “Convert WebP...” to simplify the converting process.
Remark: WebP is a new kind of image format that its file size is relatively small compared to the commonly used JPG/PNG images, so many websites adopt this kind of image format. However, they may be hard to organize, upload to other sites or open in some software.
02 Combine images and Export
Similar to the above situation, we usually need to open Photoshop to combine images or create collages, but now you can do that in a few clicks with Eagle!
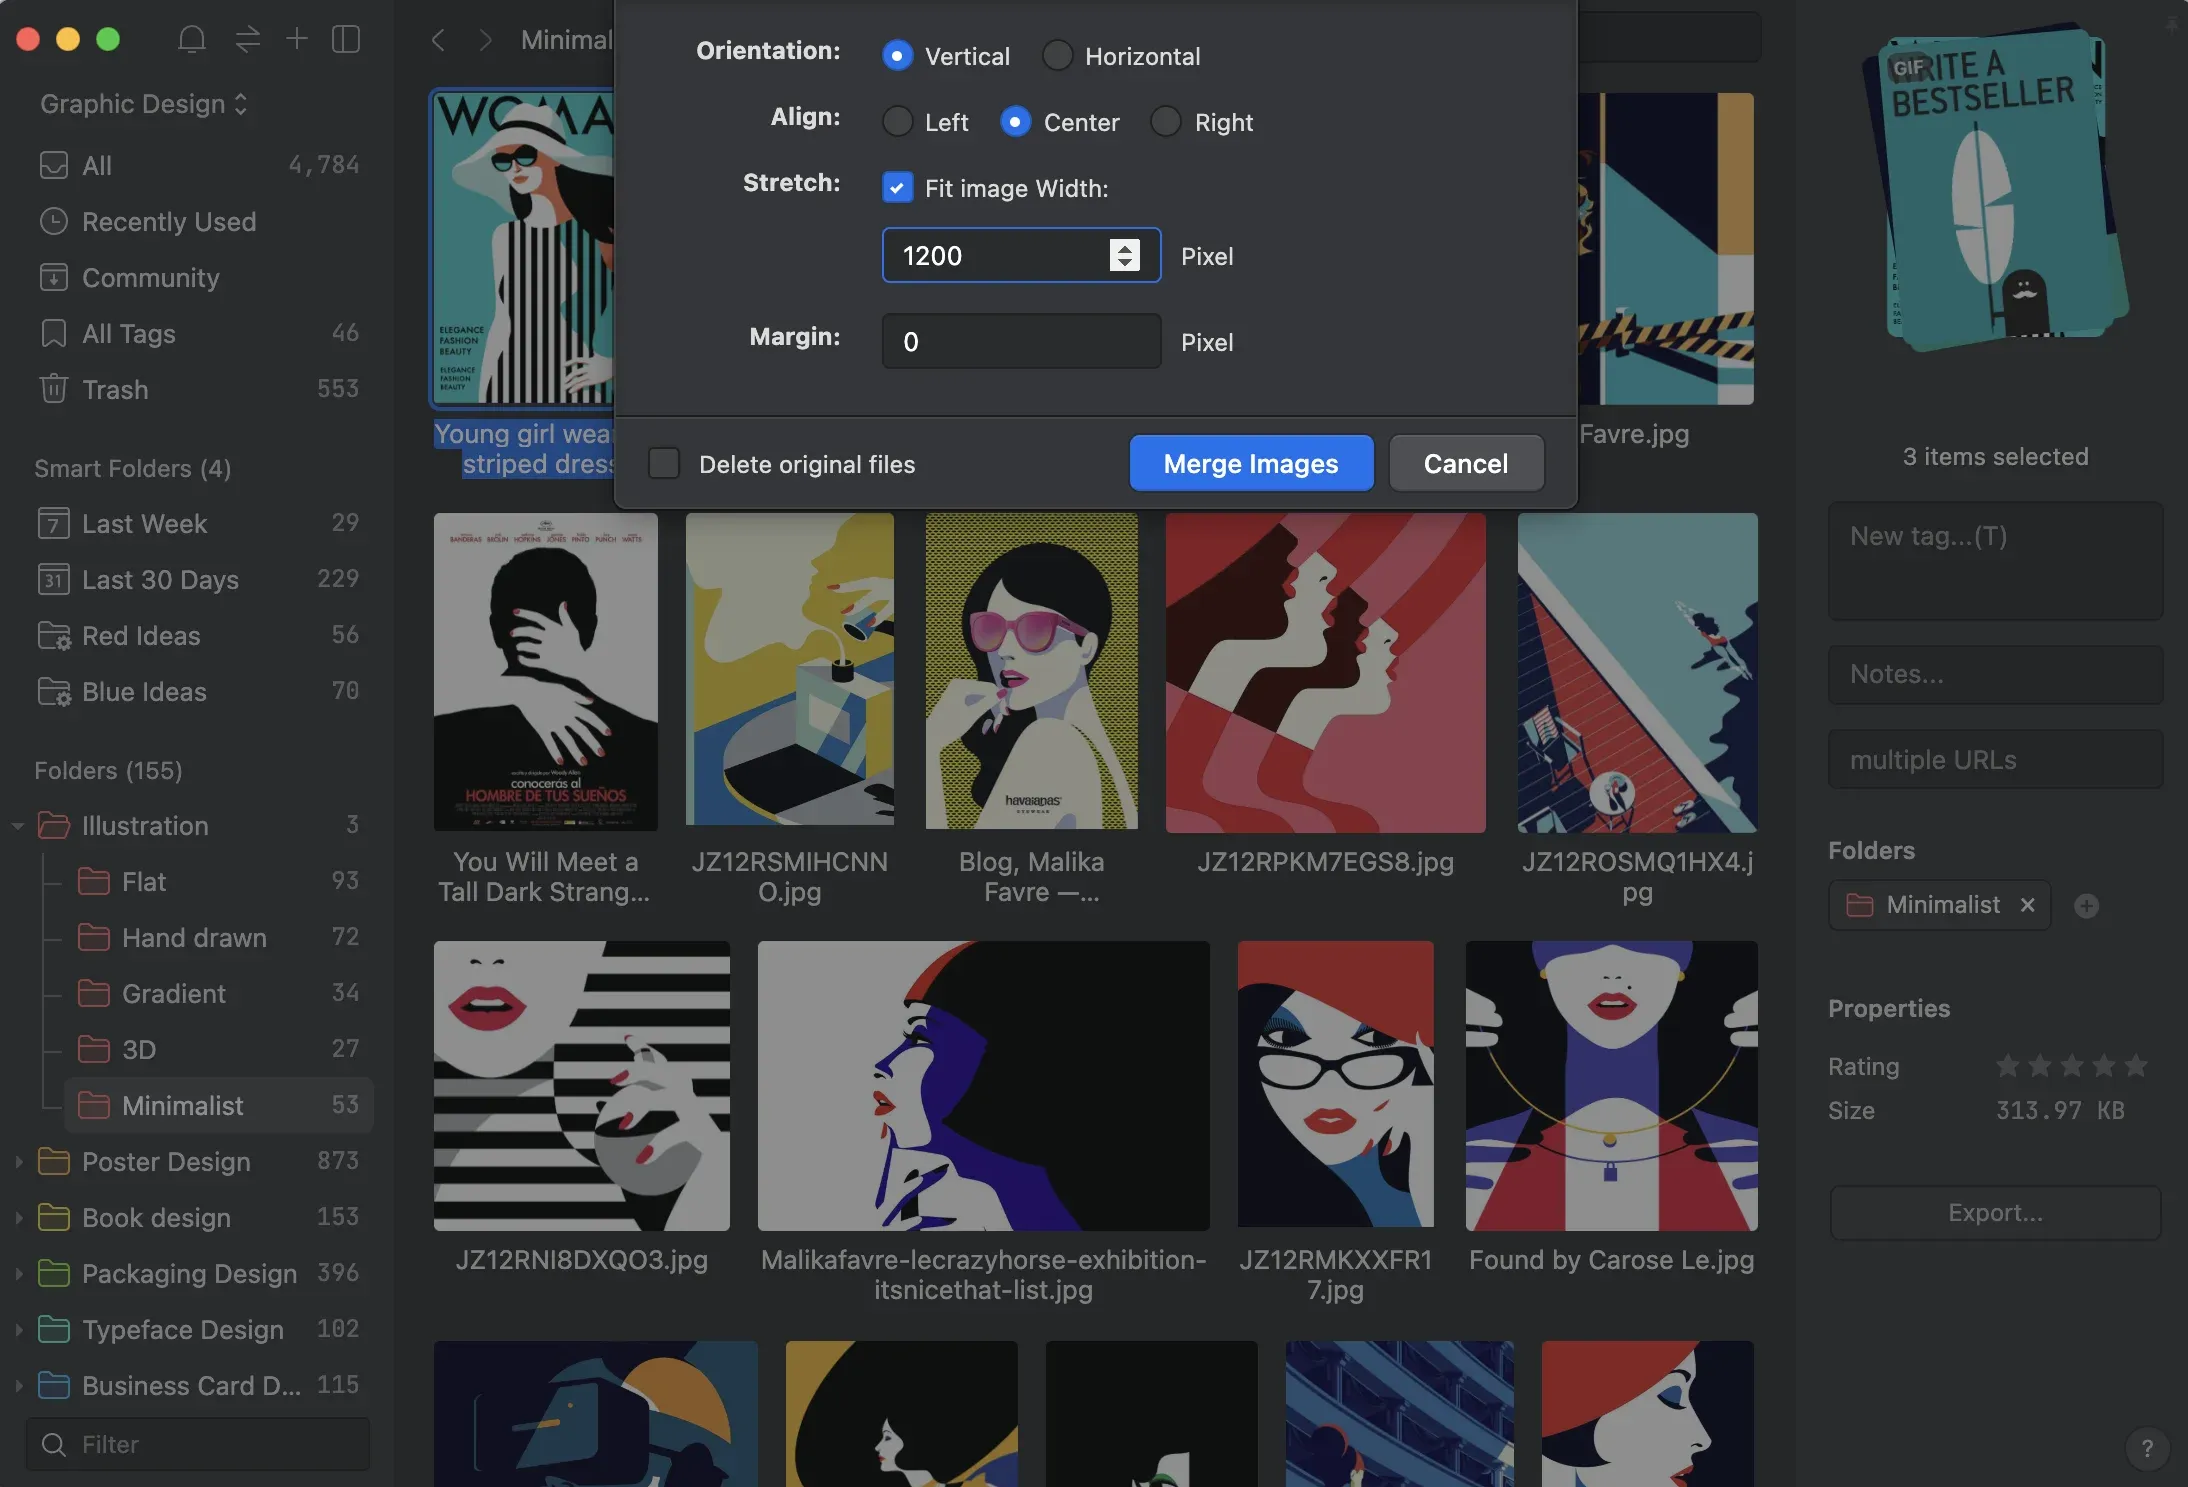
You only need to select the images you want to combine, right-click them and select "More" > "Combine Images"
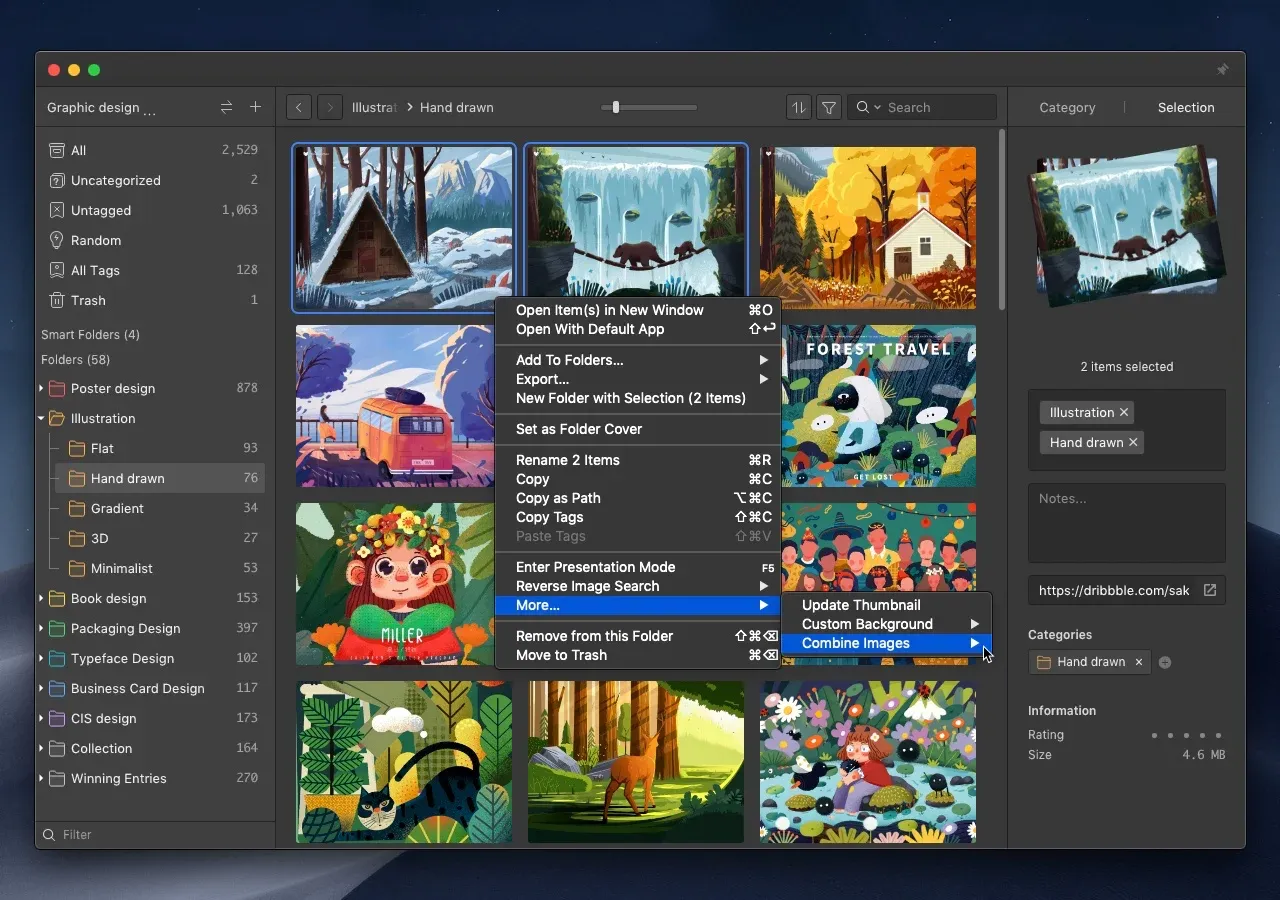
Then select the arrangement and display position in the pop-up window according to your needs. Finally, click ‘Merge Images’ and export it. A beautiful collage is simply made.
03 Eaglepack & Library
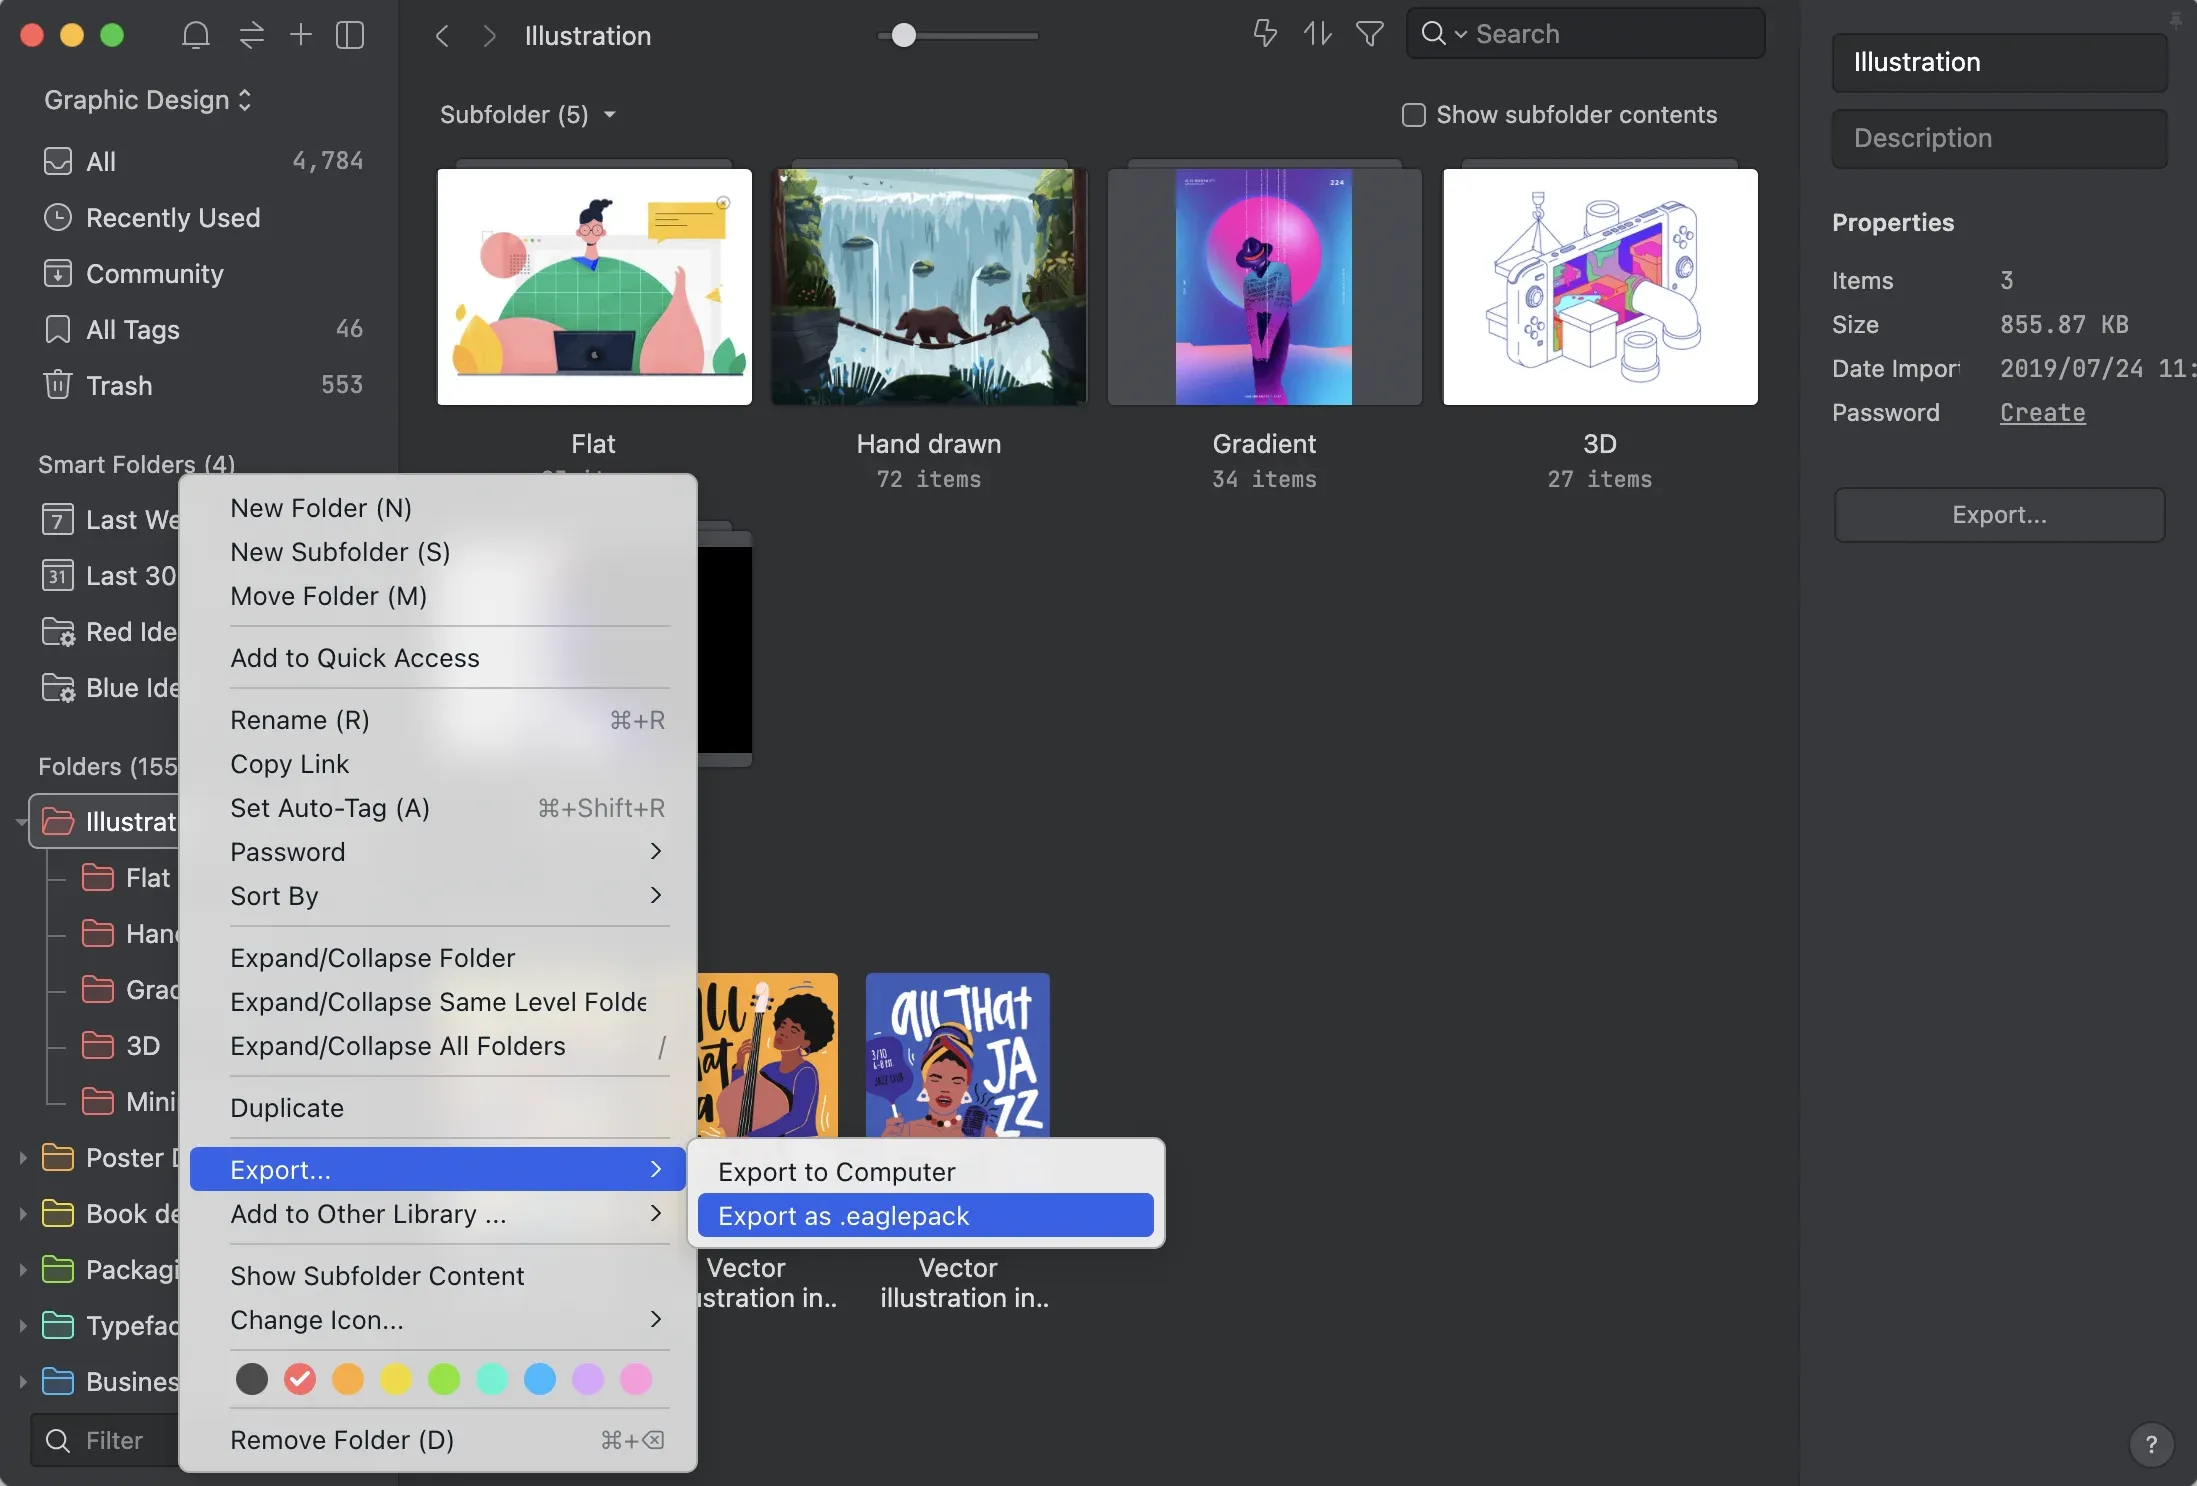
There are two main ways to import and export files through Eagle, one is Eaglepack which you can share your design resources with your colleague and friends, by selecting a folder, right-click, and "Export…" > "Export as .eaglepack"
Then, they can double-click on the Eaglepack and direct import it into Eagle!
Of course, if you want to share it with those who don’t have Eagle yet, you can “Export to Computer” and send it to them.
Another is the library that allows you to back up all of your collection at once while Eaglepack can only export a single file.
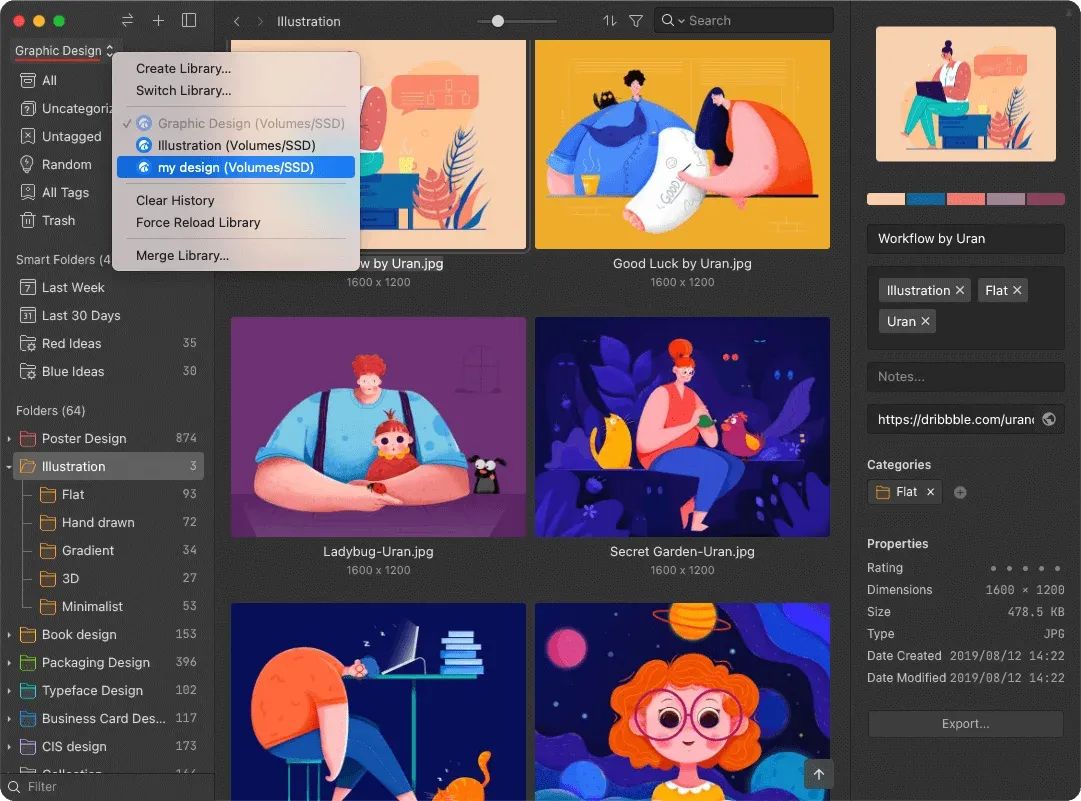
Open the library menu, you can see the directory where your library is stored on your PC.
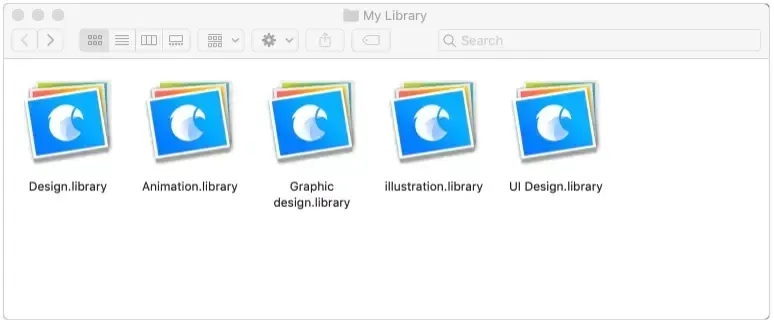
Find that folder, copy the file with the extension name .library to your hard drive or cloud drive, and the backup process will be done.
You can also create multiple libraries.
Merge them if you need them.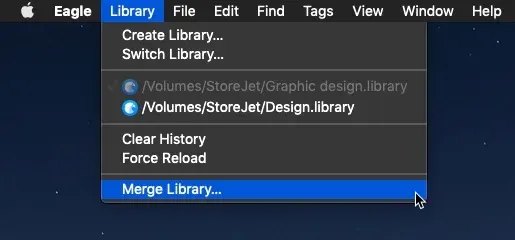
You can also share the whole library with your colleague and friends to adopt the same tags and notes immediately!
04 Import Images From Other Boards
Eagle supports importing boards on the website with a click. For example, you can select ‘File > Import from Other Services > Pinterest’
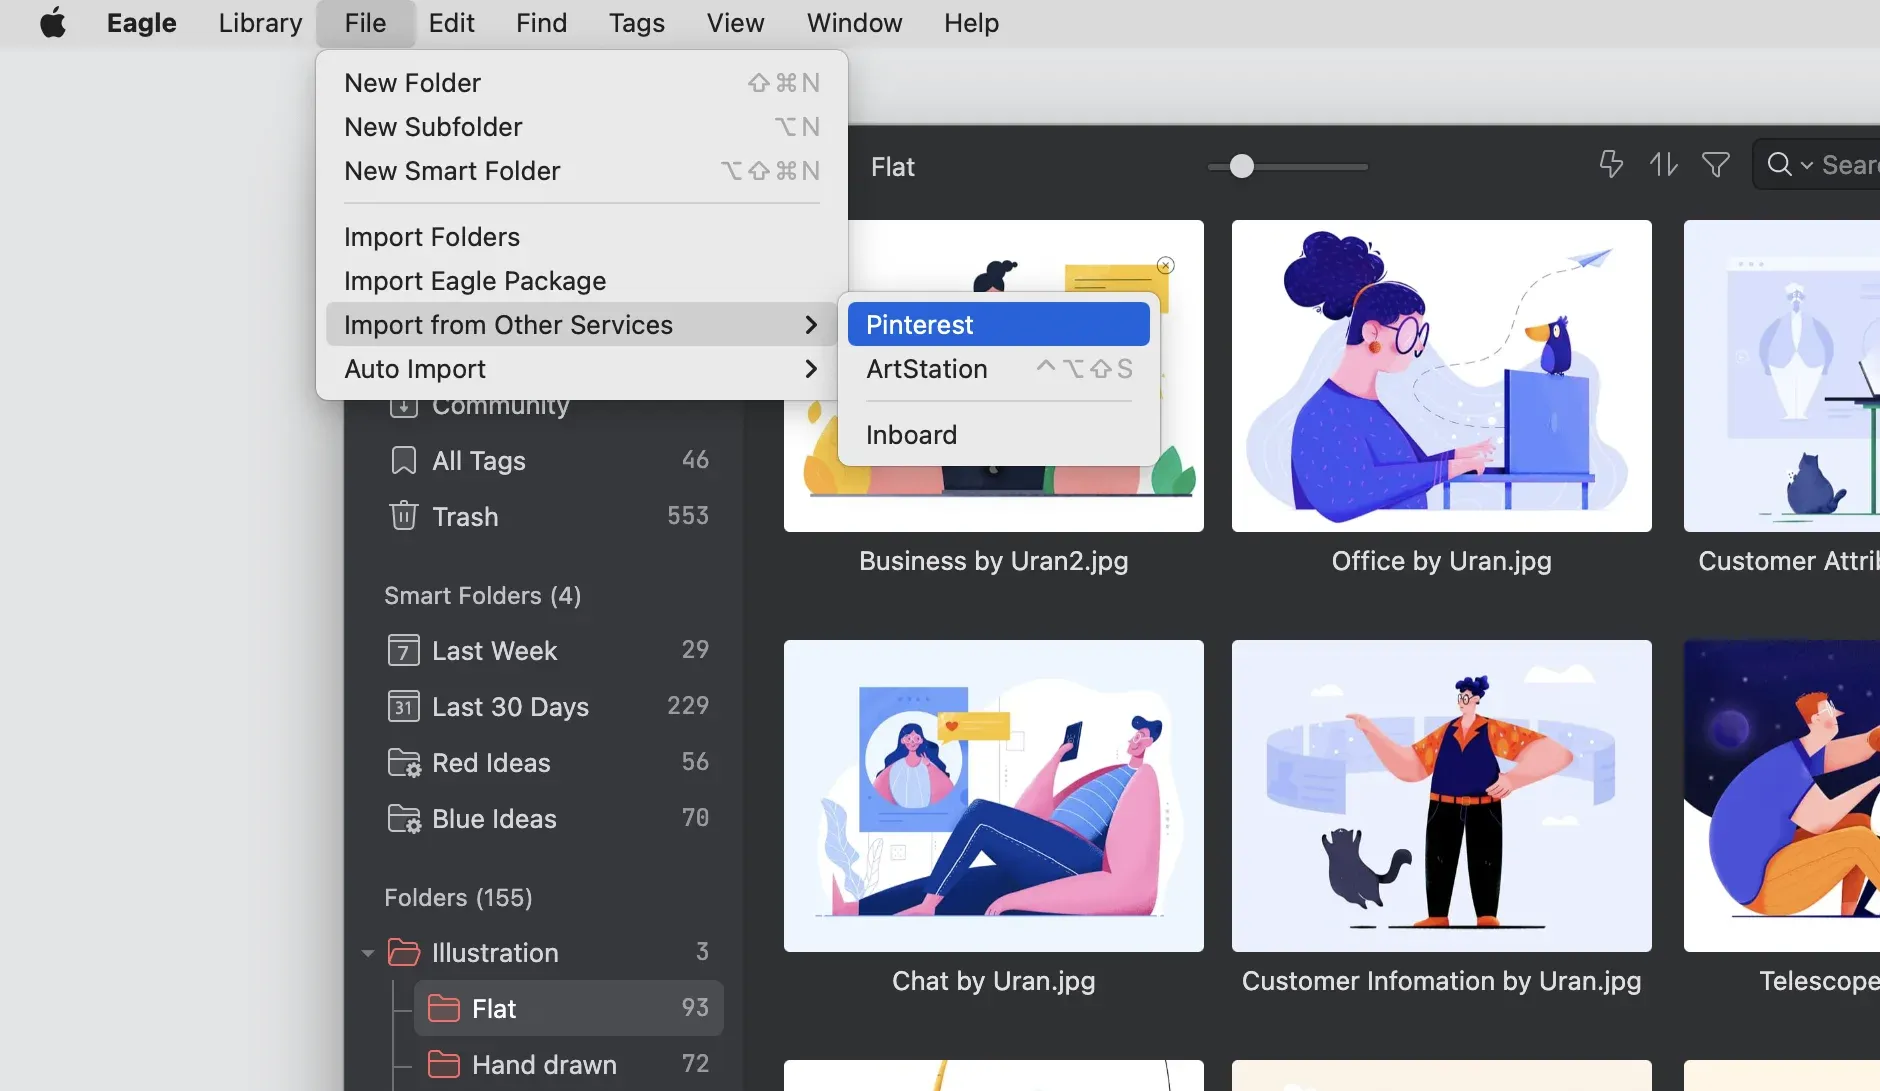
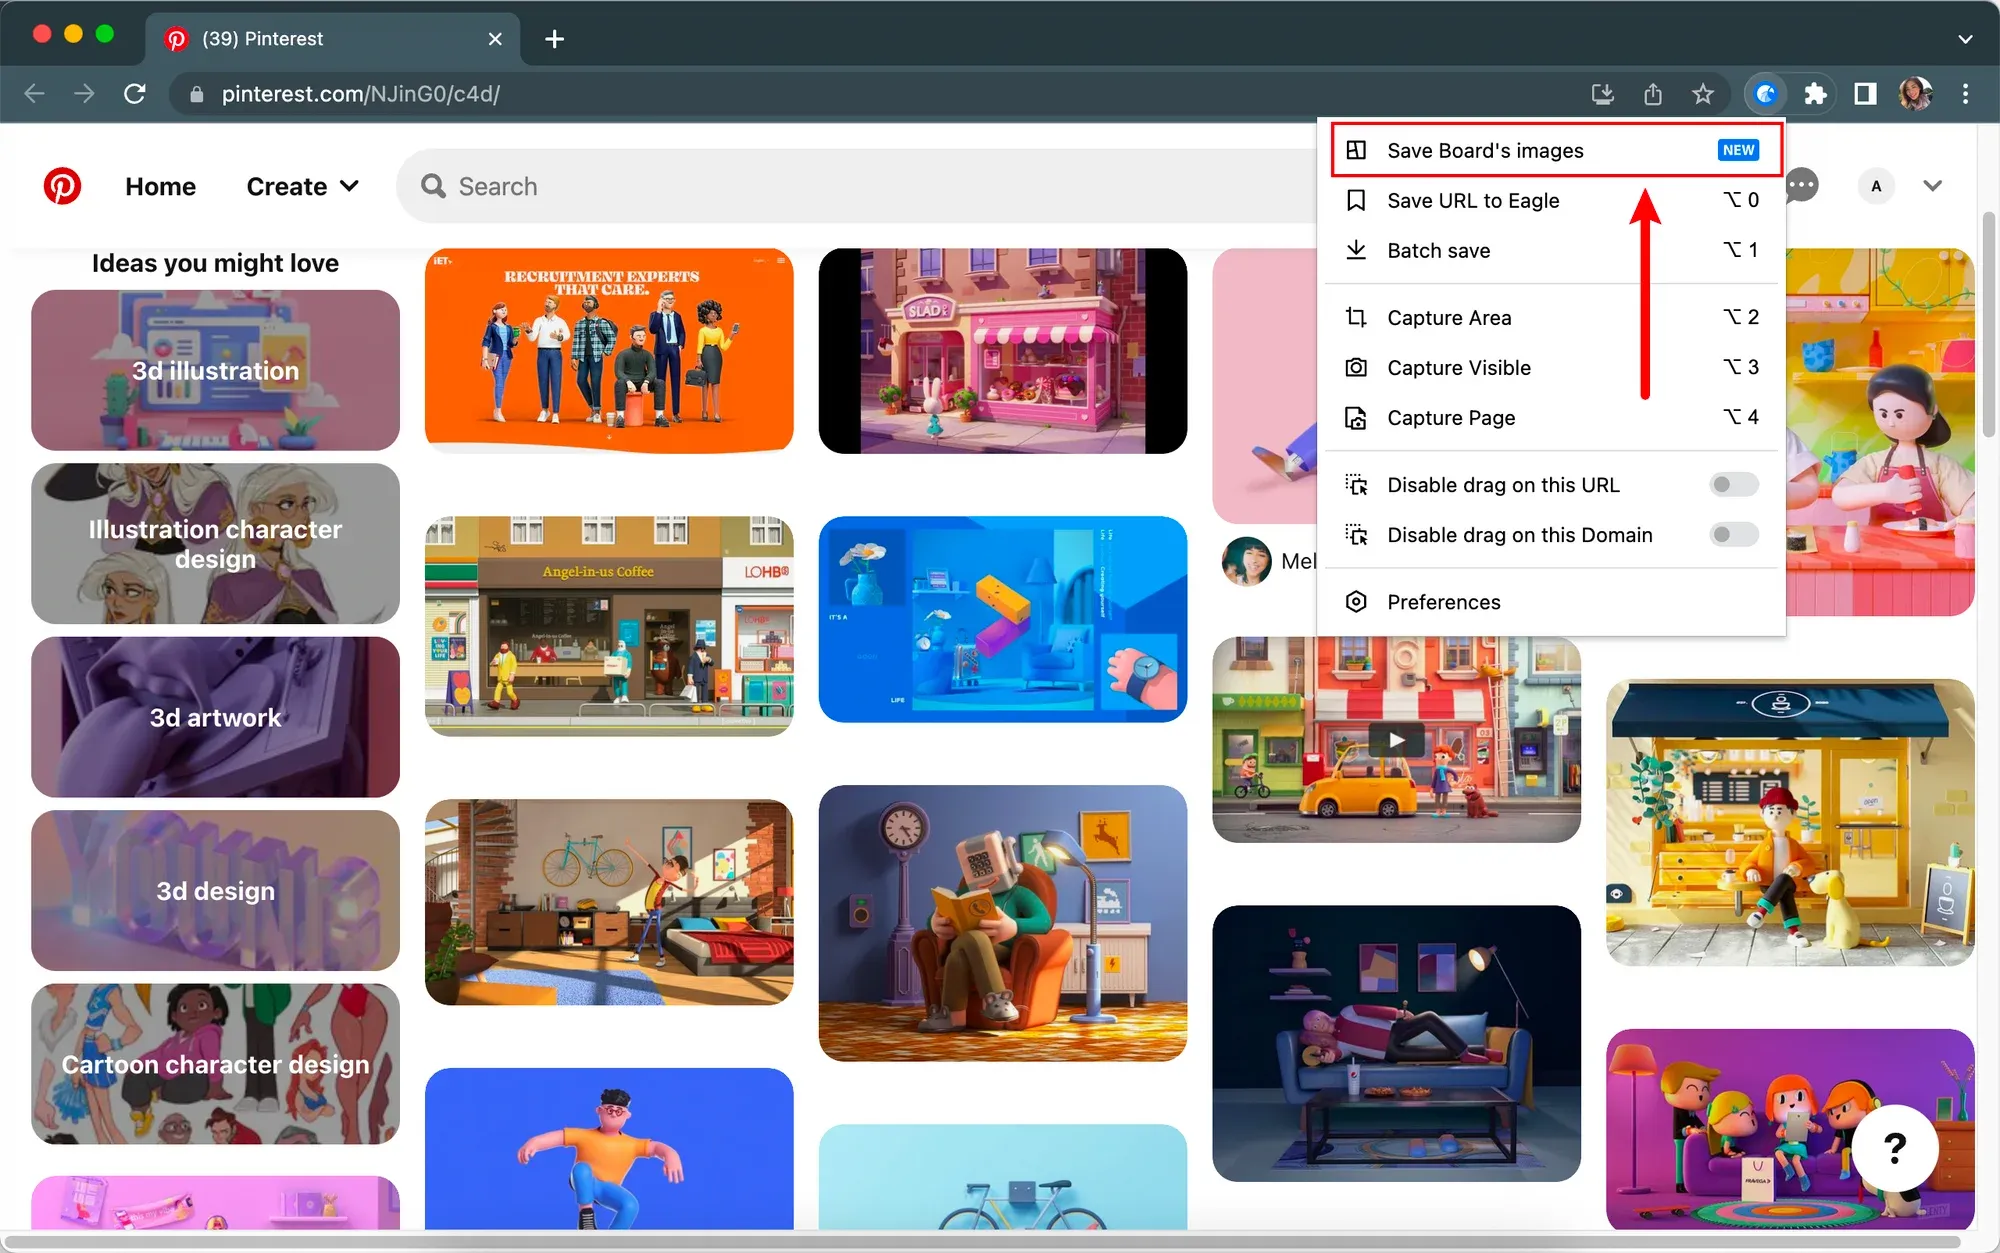
Or you can open Pinterest and install Eagle’s Browser Extension, then click the Eagle browser extension icon and select "Save Board’s Images”. Now, it will start scanning the page and import all the images into Eagle!
05 Auto-Import
This feature streamlines the process of saving images to Eagle. Once the function is activated, Eagle monitor and automatically save files into the Eagle library according to the path you set.
Usage Scenarios:
- When you finish editing images with Photoshop, you can export them to the folder you monitored and you won’t have to manually drag the files into Eagle.
- When using a third-party screenshot or screen recording tool with Eagle. You can use this function to save the results in the Eagle library immediately.
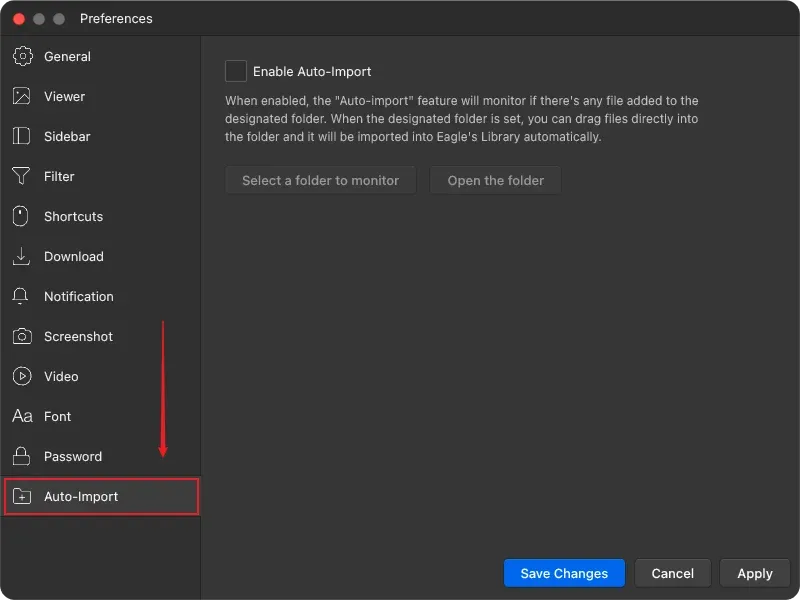
The setting’s simple first creates a folder for monitoring (Only local directories can be monitored, please avoid using LAN, and NAS directories.)
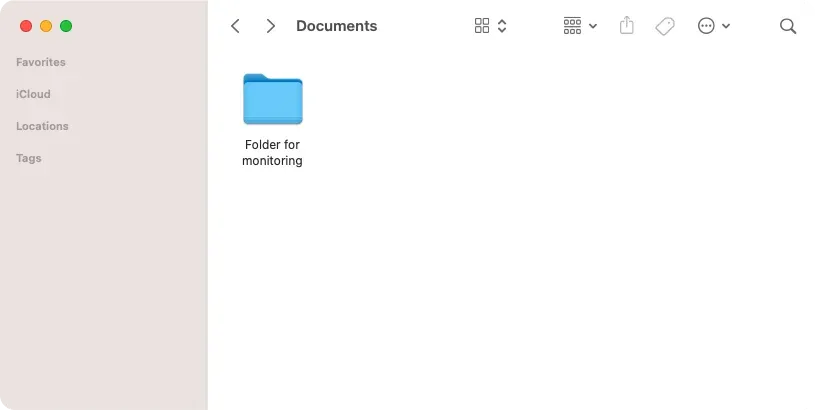
Open Eagle preferences and enable Auto-Import, then select the folder you create for monitoring, and click apply.
After that, whatever the types of files you move to that folder, will all be auto-imported into Eagle.
That’s it! Try them to boost your efficiency at work!
Editor’s Pick
This week we curated the resources with sci-fi elements.
1. 250+ Cyberpunk Scene Illustrations
- Download: Click here
- Contributor: bubbletealover666

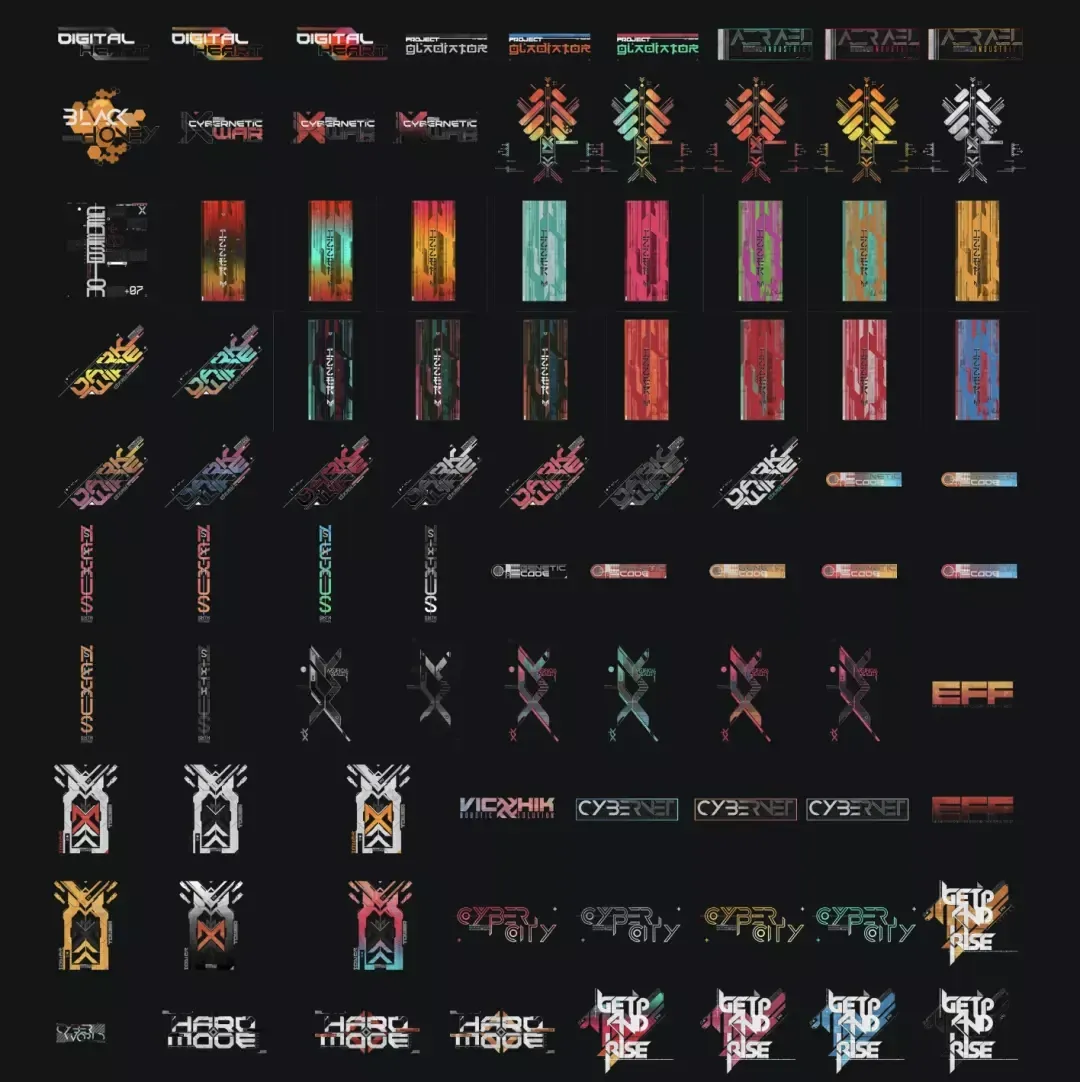
2. 90+ Cyberpunk Assets
Remark: Chinese account required
- Download: Click Here
- Contributor: Guo Design

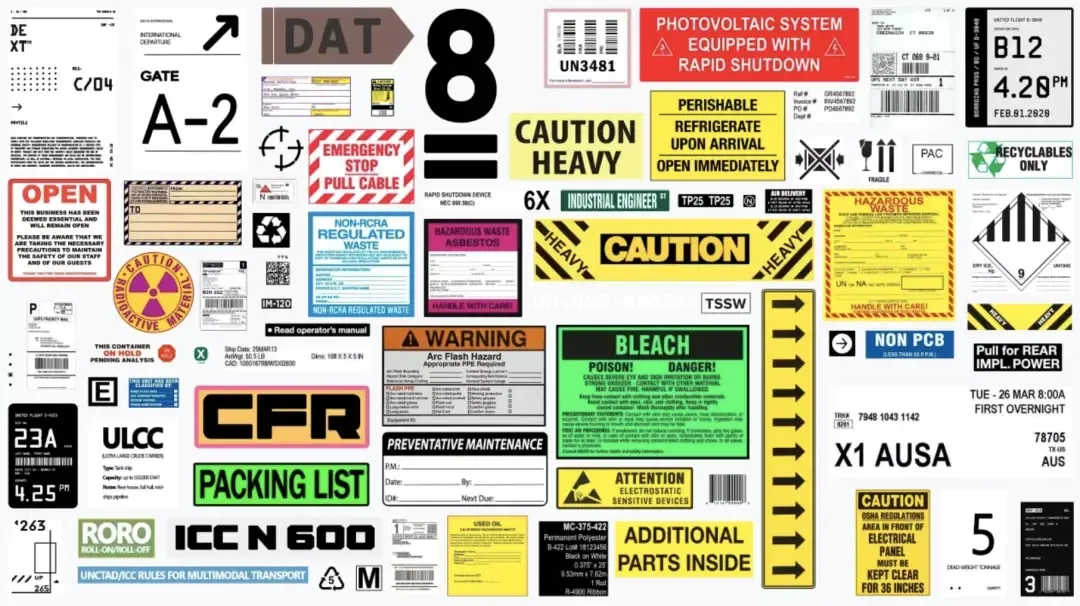
3. 500+ Product Detail Stickers PSD
Remark: Chinese account required
- Download: Click Here
- Contributor: Guo Design
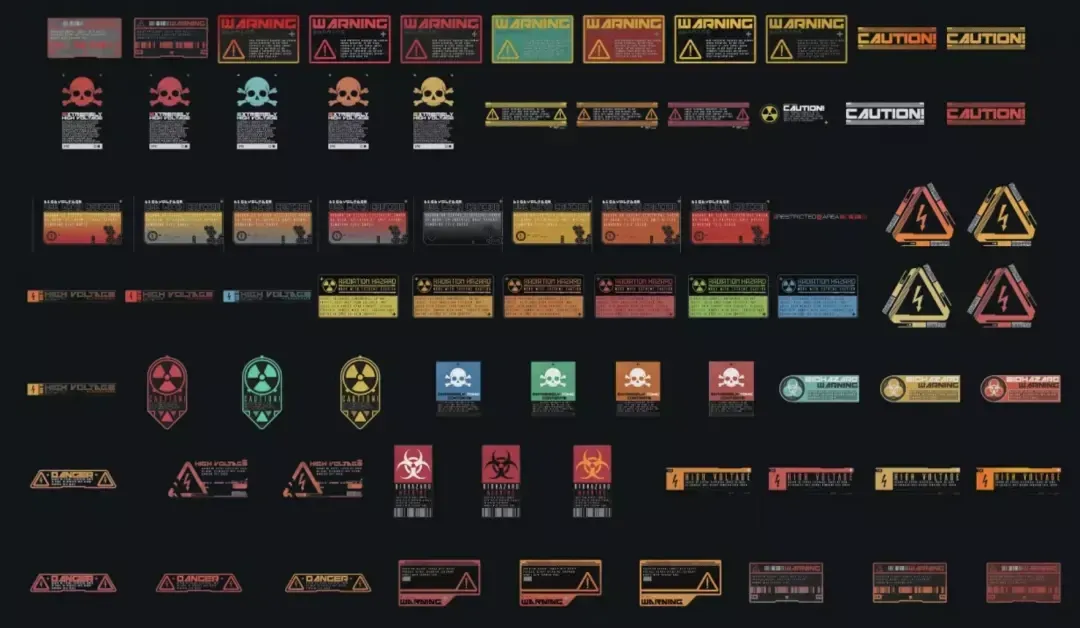
4. 70+ Danger Sign Assets
Remark: Chinese account required
- Download: Click Here
- Contributor: Guo Design

5. 350+ Sci-fi Instruction Assets
Remark: Chinese account required
- Download: Click Here
- Contributor: Guo Design
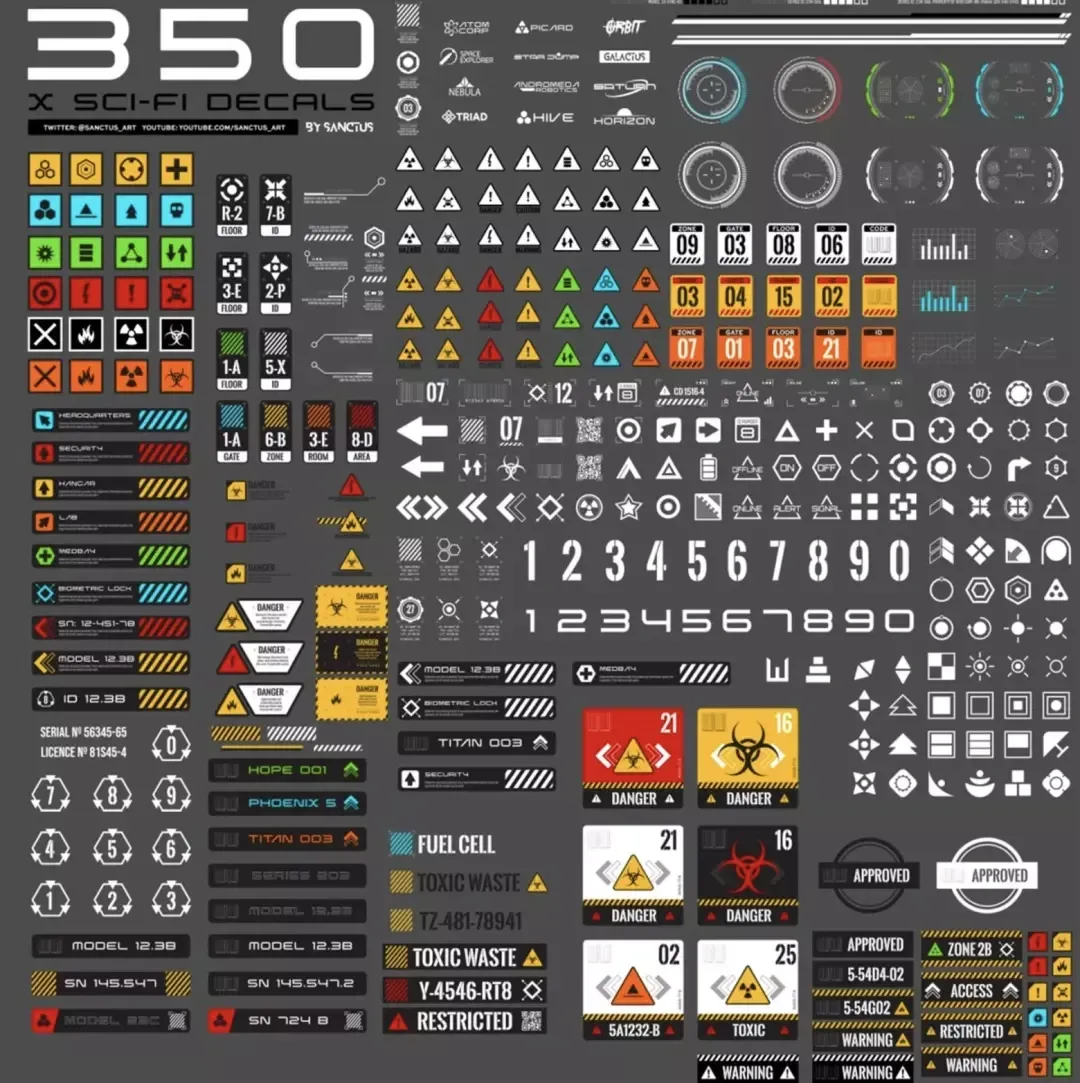
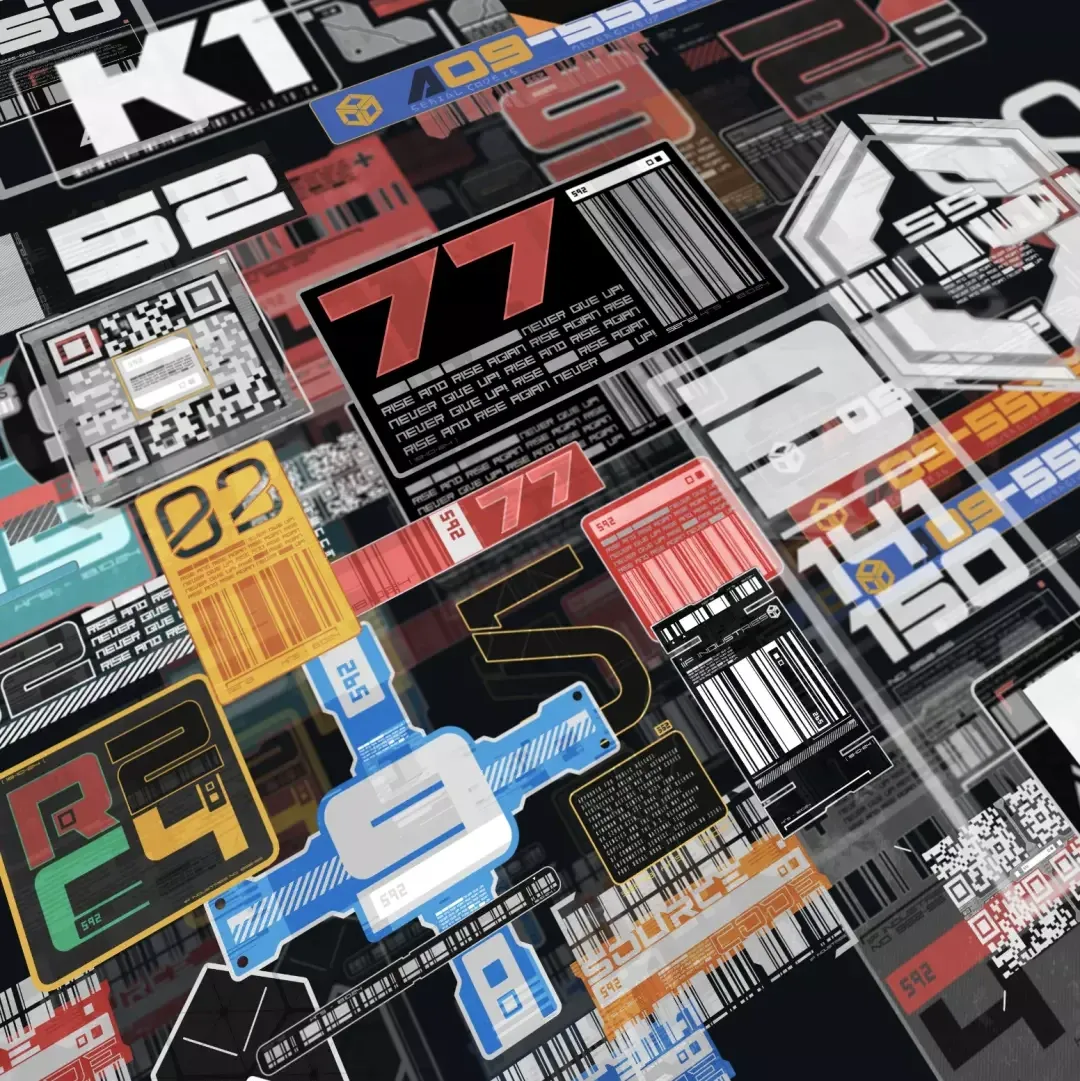
6. 200+ Sci-fi Number Assets
Remark: Chinese account required
- Download: Click Here
- Contributor: Guo Design
Find more at Eagle Community!


